You have put in plenty of work to cultivate your cannabis. If you do not mind committing a bit more effort, you can try out a process called ScrOG. Not to be confused with SOG, ScrOG is a growing technique many weed growers use to get their plants to bloom more buds.
Those with a few plants can benefit the most from this technique.
How to ScrOG?
You may have heard the term before from others in the community and are interested in trying it. However, it may not be as simple as something like low-stress training. Below is a helpful ScrOG tutorial to help you train your plants effectively.
You just need to prepare your ScrOG setup and practice your weaving skills. Before you learn how to ScrOG, we will explain what is ScrOG.
What is ScrOG (Screen of Green)?
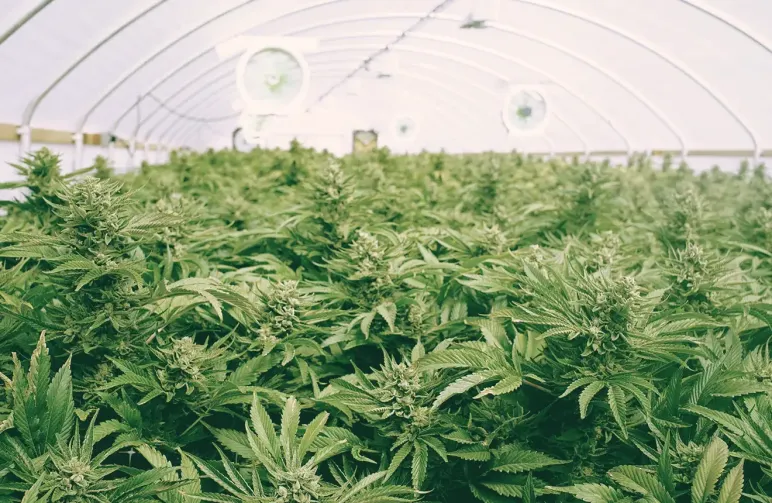
Screen of Green, or ScrOG for short, is a method of cannabis training. Naturally, your plants will grow upwards instead of sideways. Like other techniques, scrogging aims to get the cannabis plant to produce higher yields. It works by bringing the upper branches down and the lower ones up.
The training method involves putting a mesh screen, netting, or rope over the plants. They will look flatter, but appearances are not always everything. You can get a lot more potent buds this way.
Indoor growers primarily use the ScrOG technique, but outdoor growers might benefit from it as well.
Pros and Cons of a ScrOG grow
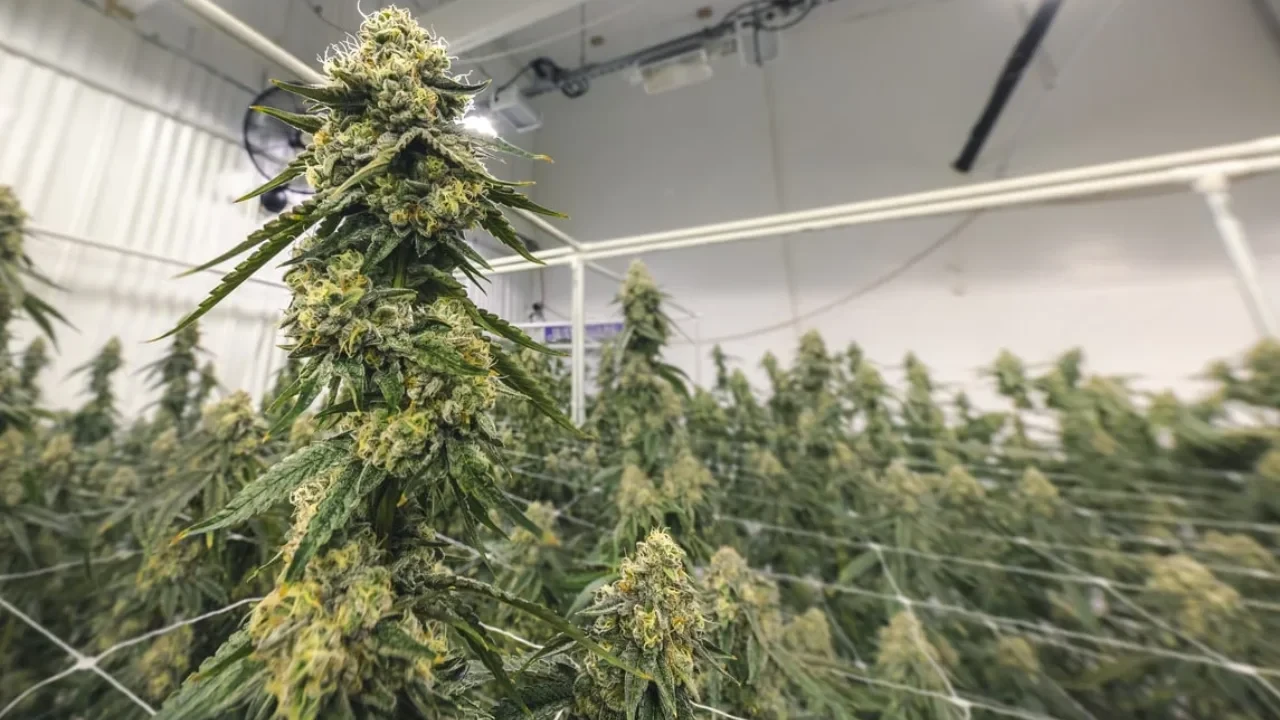
One of the big advantages of ScrOG is light distribution. The light can reach each branch equally, and the plant can put some of that energy into developing other colas. As a result, you can end up with a larger harvest size compared to untrained cannabis. Not to mention, resin production can reach its full potential.
Fungus and mold can be an issue for many people, which is why proper airflow is important. With ScrOG, a gentle breeze above and below the plant can reduce the risk. Additionally, the method gives your plants extra support.
One disadvantage of choosing to ScrOG cannabis is that it takes time to weave and bind the plants to the netting or screen. It can take a long while if you have plenty of marijuana to go through. The technique requires more attention to detail, and there is little margin for error.
Not to mention, it can be tricky to ScrOG marijuana autoflowers due to their shorter lifecycle. You may want to avoid the method if you have a fast-growing strain.
When to Start the ScrOG Method?
You can tell when it is time to ScrOG by the height of the plants. Some people place the screen a little above the plants and wait for the stems to grow. Usually, scrogging occurs during the vegetative phase for the best results.
Since autoflowers bloom automatically, you might have to train them a bit earlier. Generally, scrogging begins when the second pair of fan leaves sprout. However, there are two types of autoflowers that can influence when you start.
With regular autoflowers, you can use the method at the start of the flowering phase. Super autoflowers have a longer vegetative stage than other strains. So, you would start then.
Prepare Your ScrOG Grow
There are a few things to consider when you prepare to ScrOG. What you should do includes:
Select the best strains for ScrOG
There are many viable seeds on the market, and they all come with some advantages. We have compiled a list of the best strains for ScrOG. It saves you the trouble of trying to find out which seeds to grow with your new ScrOG set-up, and you can just focus on learning this growth technique.
Build or buy a ScrOG net
The ScrOG net is the main component of the process. You can buy one for a reasonable price, but you should make sure to get the right one. For example, the dimensions of the ScrOG netting depend on the size of your crops and your growing room.
However, a larger screen can pose fewer problems than an undersized one. The appropriate netting material can make scrogging easier as well. For example, weed binds to string quite well.
Alternatively, you can make your own ScrOG net. This way, you can ensure the screen is the perfect fit for your crops and growing room. You would start by making a square frame with four pieces of wood. Then, you would attach four evenly sized-legs to the frame. Some people use PVC piping instead of timber.
Cannabis loves to stick to string, so you can use it for netting. Not to mention, the material is easily disposable. Several growers also use hemp cords to form the net.
Select Pots
If you have multiple plants, you are going to want to space them out. The ScrOG technique makes cannabis grow sideways, so there is a higher chance of the plants bunching up together. However, you have to consider the size of your grow room as well.
You might want to get smaller pots to conserve space. Not to mention, smaller containers are ideal for plants with a shorter vegetative period. Nevertheless, you do not want to buy containers that are too small, or it could hinder plant growth.
Perhaps you only have one or two plants to cultivate. You can use a larger size pot while maintaining optimal distance. Growers who plan to vegetate for over six weeks use a large container to accommodate an extensive root system.
Several growers decide to go with fabric pots. Since the ScrOG method improves airflow, fabric pots work well in conjunction with training. Not only do the plants get enough oxygen, but the soil does as well.
Position Your Plants
As mentioned before, you will want to position your plants so they are far away from each other. If the plants are too close, air cannot pass through the branches as easily. As a result, mold can start growing on the maturing cannabis. The ideal distance between each pot is 1-2 feet.
If the strain tends to produce large plants, change the spacing to accommodate the growth. If growing marijuana outside, you can use a tomato cage to spread the branches out. Of course, the plants should be right under the net for easy binding.
Cannabis also should rest directly under the light source for the best distribution of energy. The flowers can benefit from being front and center. Still, the plant has to be a certain distance away from the grow lights to avoid heat damage.
If you have fans in the room, position your plants near the air current. Some growers place their canopy over a fan that is blowing upward.
How to ScrOG weed plants?
If you plan to apply the ScrOG growing technique, there are several steps you need to take:
1. Setting ScrOG Height
When you position the netting, there should be a gap between it and the cannabis. The distance should be anywhere from 7-15 inches. You can place the screen while the weed is still in its seedling stage and adjust it if necessary.
The ScrOG height can depend on how big the plant grows. The reason why this is necessary is that the limitation allows the light to focus on each branch evenly. You can get a lot more useful flowers this way. Still, be mindful of the lateral growth. The branches of each plant might end up on top of each other.
2. Apply Topping
Scrogging is more effective when you combine it with topping. Topping is a popular high-stress training method that encourages lateral growth. Not to mention, you are more likely to get multiple strong colas.
The best time to do it is when the weed plant has 3-5 nodes, but several growers prefer to snip at the fifth node.
Visibly, you can estimate the right time by seeing if the top branches poke through the screen. What you need is a sharp pair of pruning scissors for an easy cut. Wait until the vegetative phase and locate the uppermost node.
Then, remove the tip of the main stem. The plant will direct more energy to another stem.
You can perform topping multiple times during the vegetative phase. The topping method should stop when the flowering stage begins. Since it is a high-stress process, you may want to wait 1-2 weeks between each session.
Marijuana plants need time to recover from the process and get used to the new growth pattern.
3. Weave Branches Through the Screen
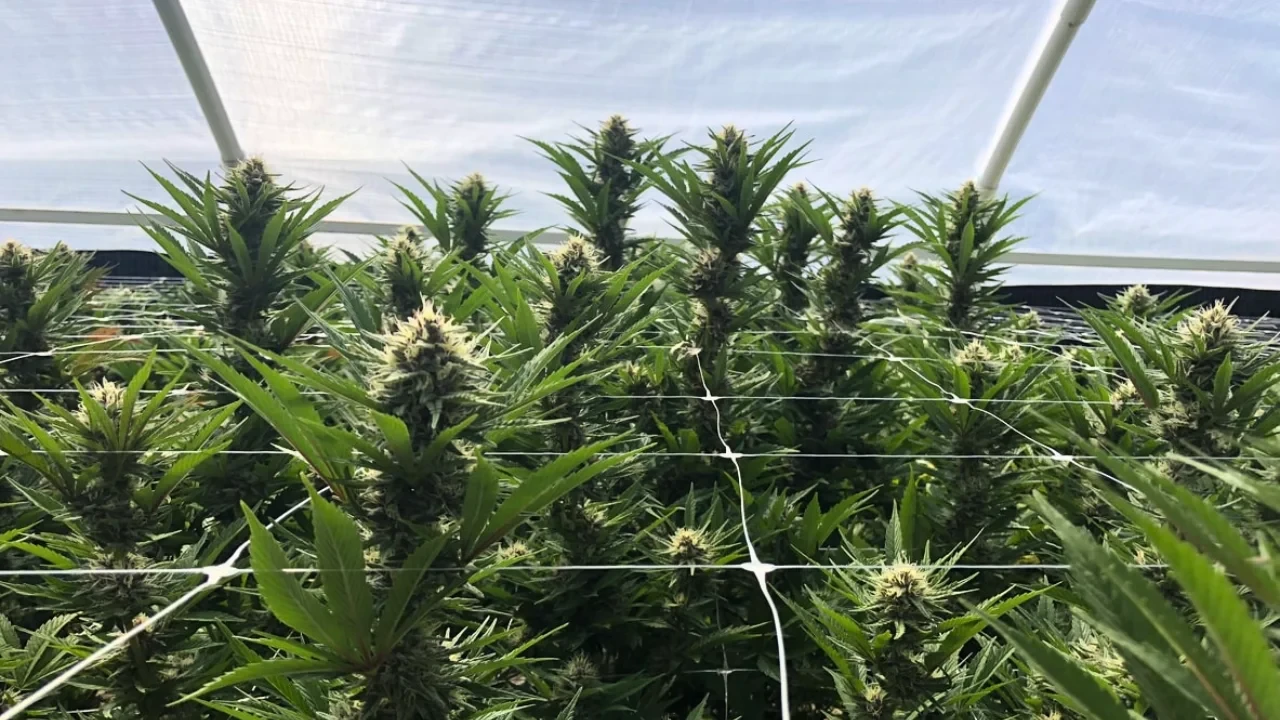
When your plants become tall enough to reach the screen, you can begin weaving the branches through said screen. As mentioned before, the process can take some time since you need to do it manually. It can help to have some form of entertainment playing while you work.
Try to fill each square with one branch. At the same time, you should not let a square go empty unless the screen is oversized. Stretch the branched as far as they can go over the string and gently secure them with twist-ties.
It is vital that you be careful. The branches could snap or tear with too much force. As you are moving them, determine where they want to go. The branches might not want to move or stay where you want them to be.
Weave them in another direction to avoid breaking them. Sometimes, you may have to turn the plant around to get it to cooperate.
Some people prefer to start at the edges of the ScrOG net and work their way toward the center. Once you have finished, it would look like the branches are interlocking with each other.
4. Apply Pruning
After you are done weaving, you can figure out where the plant needs pruning. The process is sort of the opposite of topping. Instead of removing parts of the plant at the top, you need to cut off the lower branches.
This step is necessary because you free up more energy for the developing buds. Also, more nutrients and water can nourish the rest of the cannabis. The unnecessary branches should be underneath the ones that you wove into the ScrOG screen.
You will need a pair of pruning shears. Ensure they are sharp and sanitized. When you finish pruning, give your weed plants time to recover from any stress they may have experienced.
5. Force Plants Into Flowering
The next step of ScrOG is to make the cannabis enter the flowering stage. You can observe when the plants have maxed out their vegetative growth. With autoflowers, this phase starts automatically. However, regular and feminized strains need guidance. The moment of transition is up to you and how you choose to grow.
Cannabis takes 3-4 weeks to get from this phase to flowering if you use a hydroponic system. With soil, it should be 6-8 weeks. The more experience you gain from producing weed, the more intuitive this part becomes.
Growth will continue to occur during the flowering period, so you should get an idea of how your plants might change. When you feel like it is time, change the light cycle to where it is: 12 hours of light and 12 hours of darkness.
Once the weed plants begin to flower, all you need to do is watch for signs that they are ready for harvest.
6. Take Care of Your Plants
After you are done with the ScrOG method, take care of your weed plants for the next several days. Give your plants ample water and nutrients. Watering should happen soon after each weaving session. Crops will need to recover after the stress of the process.
Avoid any other types of training until your marijuana is ready for more. You can stick to the regular feeding schedule when the plants return to normal.
You might notice that your crops look a little wilted. There is no need to worry. After they get plenty of direct light, they will return to their healthy, lush appearance.
Check in every couple of days to make sure the plants are doing all right. They will have grown some more, and you can get a better sense of where the buds will develop.
Tips for Advanced Growers
One tip is to use other training techniques to maximize your yield. Low-stress training allows you to manipulate the stems into a position where the side shoots will fill the net. The process involves bending the branches and tying them down.
Check the flexibility of each stem to ensure it will not break.
Mainlining weed is another helpful method where you top the plant to split the branches from one stem. Then, you would tie them down and repeat the process multiple times. Some people use super cropping since they do not need any special equipment.
You would squeeze and pinch the branches to make them easier to weave. Repair any damage you find.
Additionally, you can choose to use a form of defoliation called lollipopping. It is similar to pruning in how you remove the lower foliage. However, you would cut off unnecessary buds. It may seem counterintuitive, but the plant can focus on the more productive buds.
Another tip is to find an autoflower strain that will grow larger than the average autoflower. This type of cannabis is smaller than feminized ones. A large autoflower can help fill out the netting more.
For more tips on applying the ScrOG technique on autoflowers, you can read our Autoflower ScrOG Guide.
If the plant ends up taller than expected, you might run out of room. This is a common problem that growers can encounter. You can raise the grow lights, or you can try to flatten the plant. Some people add a second screen to apply pressure. The extra pressure may promote sideways growth.
Final thoughts on ScrOG
The ScrOG technique is one of many ways you can get quality buds for each harvest. The more practice you get in, the easier scrogging will become. As mentioned, ScrOG is not the only technique that advanced growers can use to level up their harvest game.
For more information on different grow techniques, you can always consult our Advanced Grow Guide.


