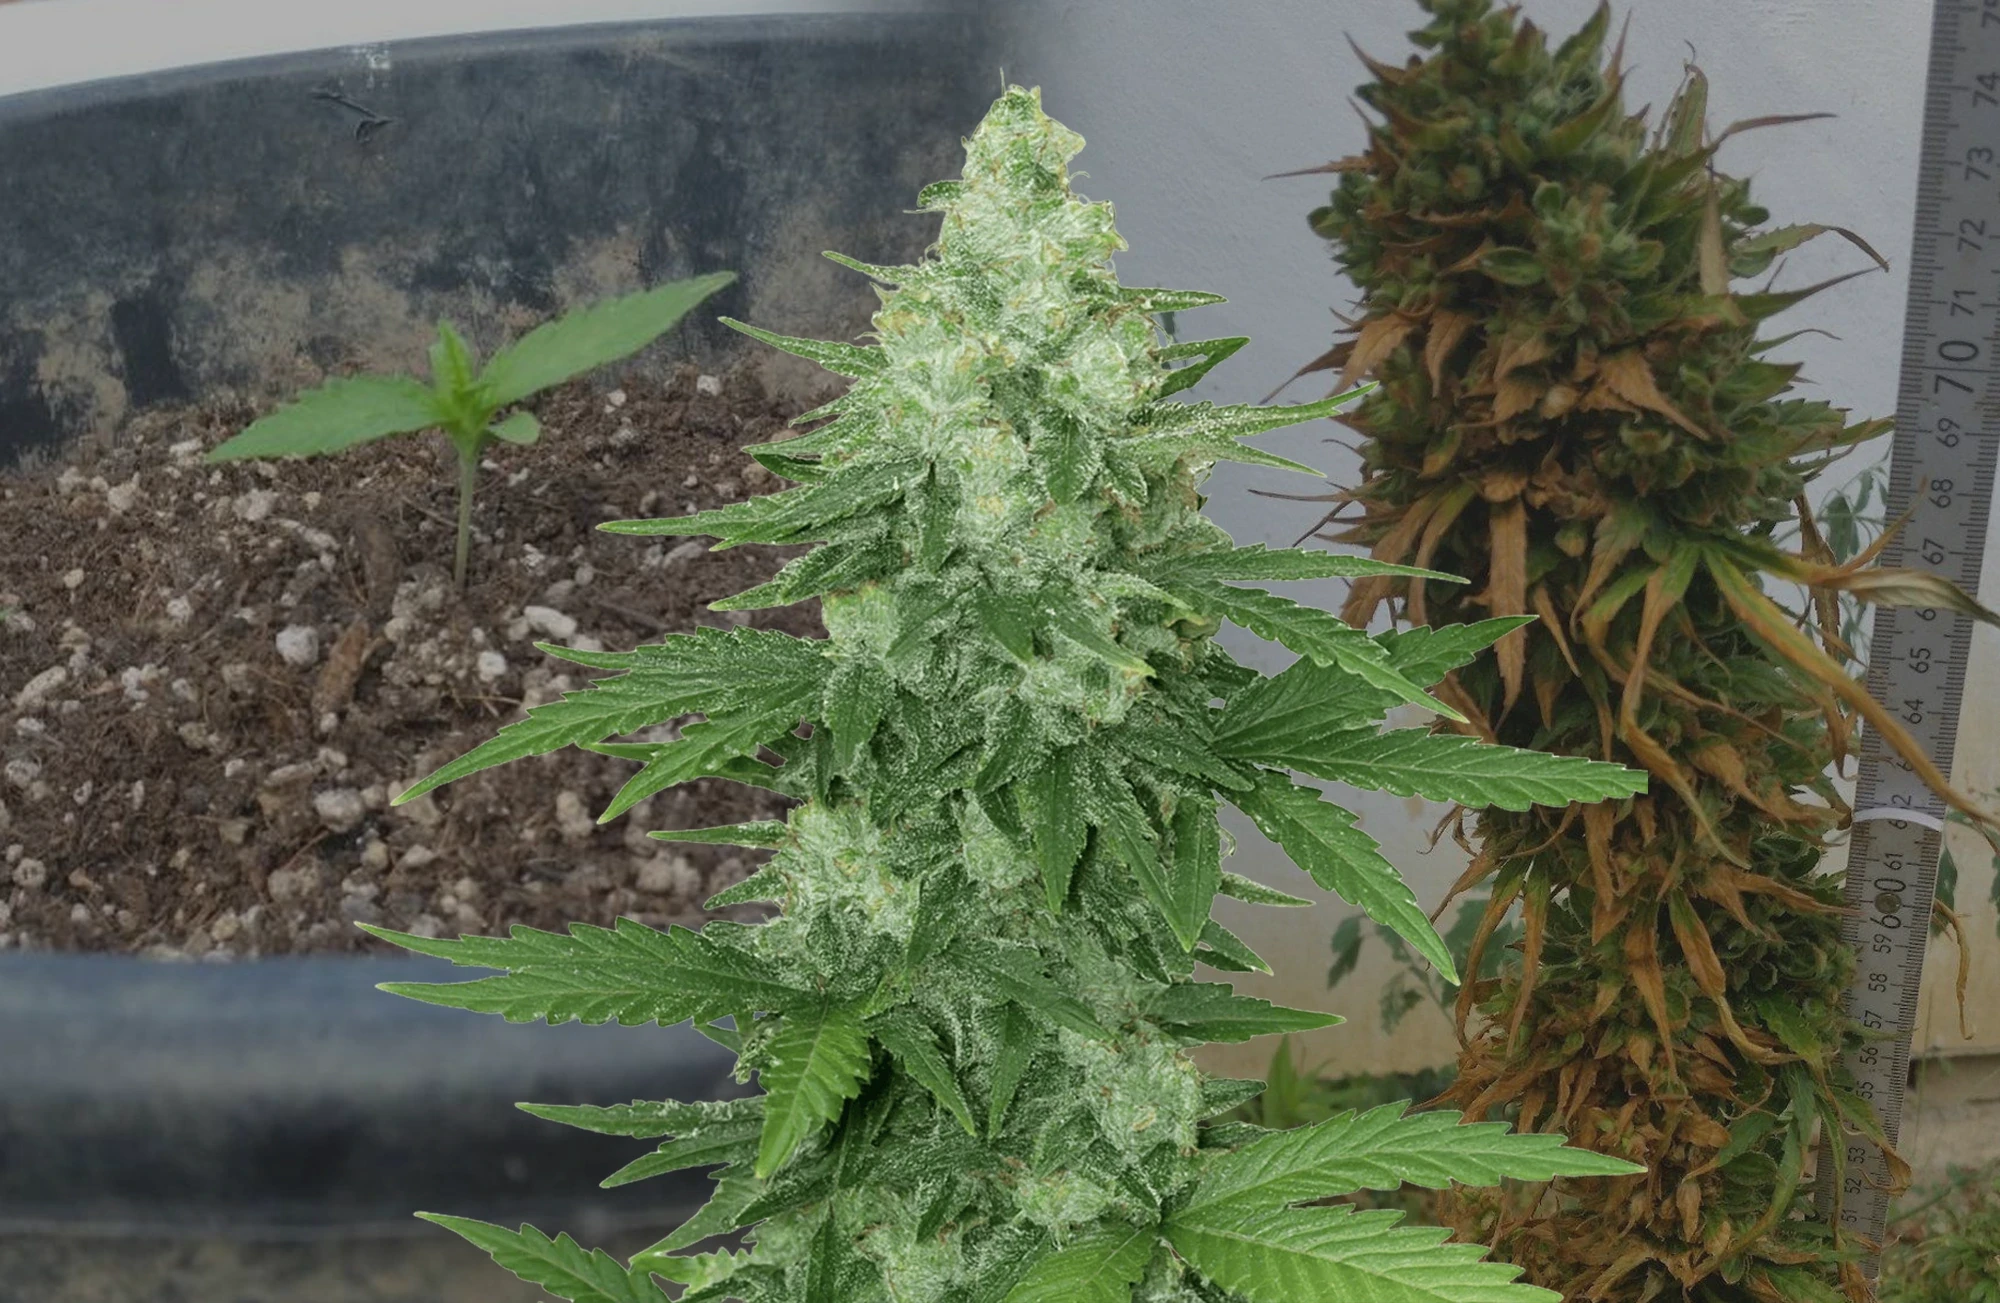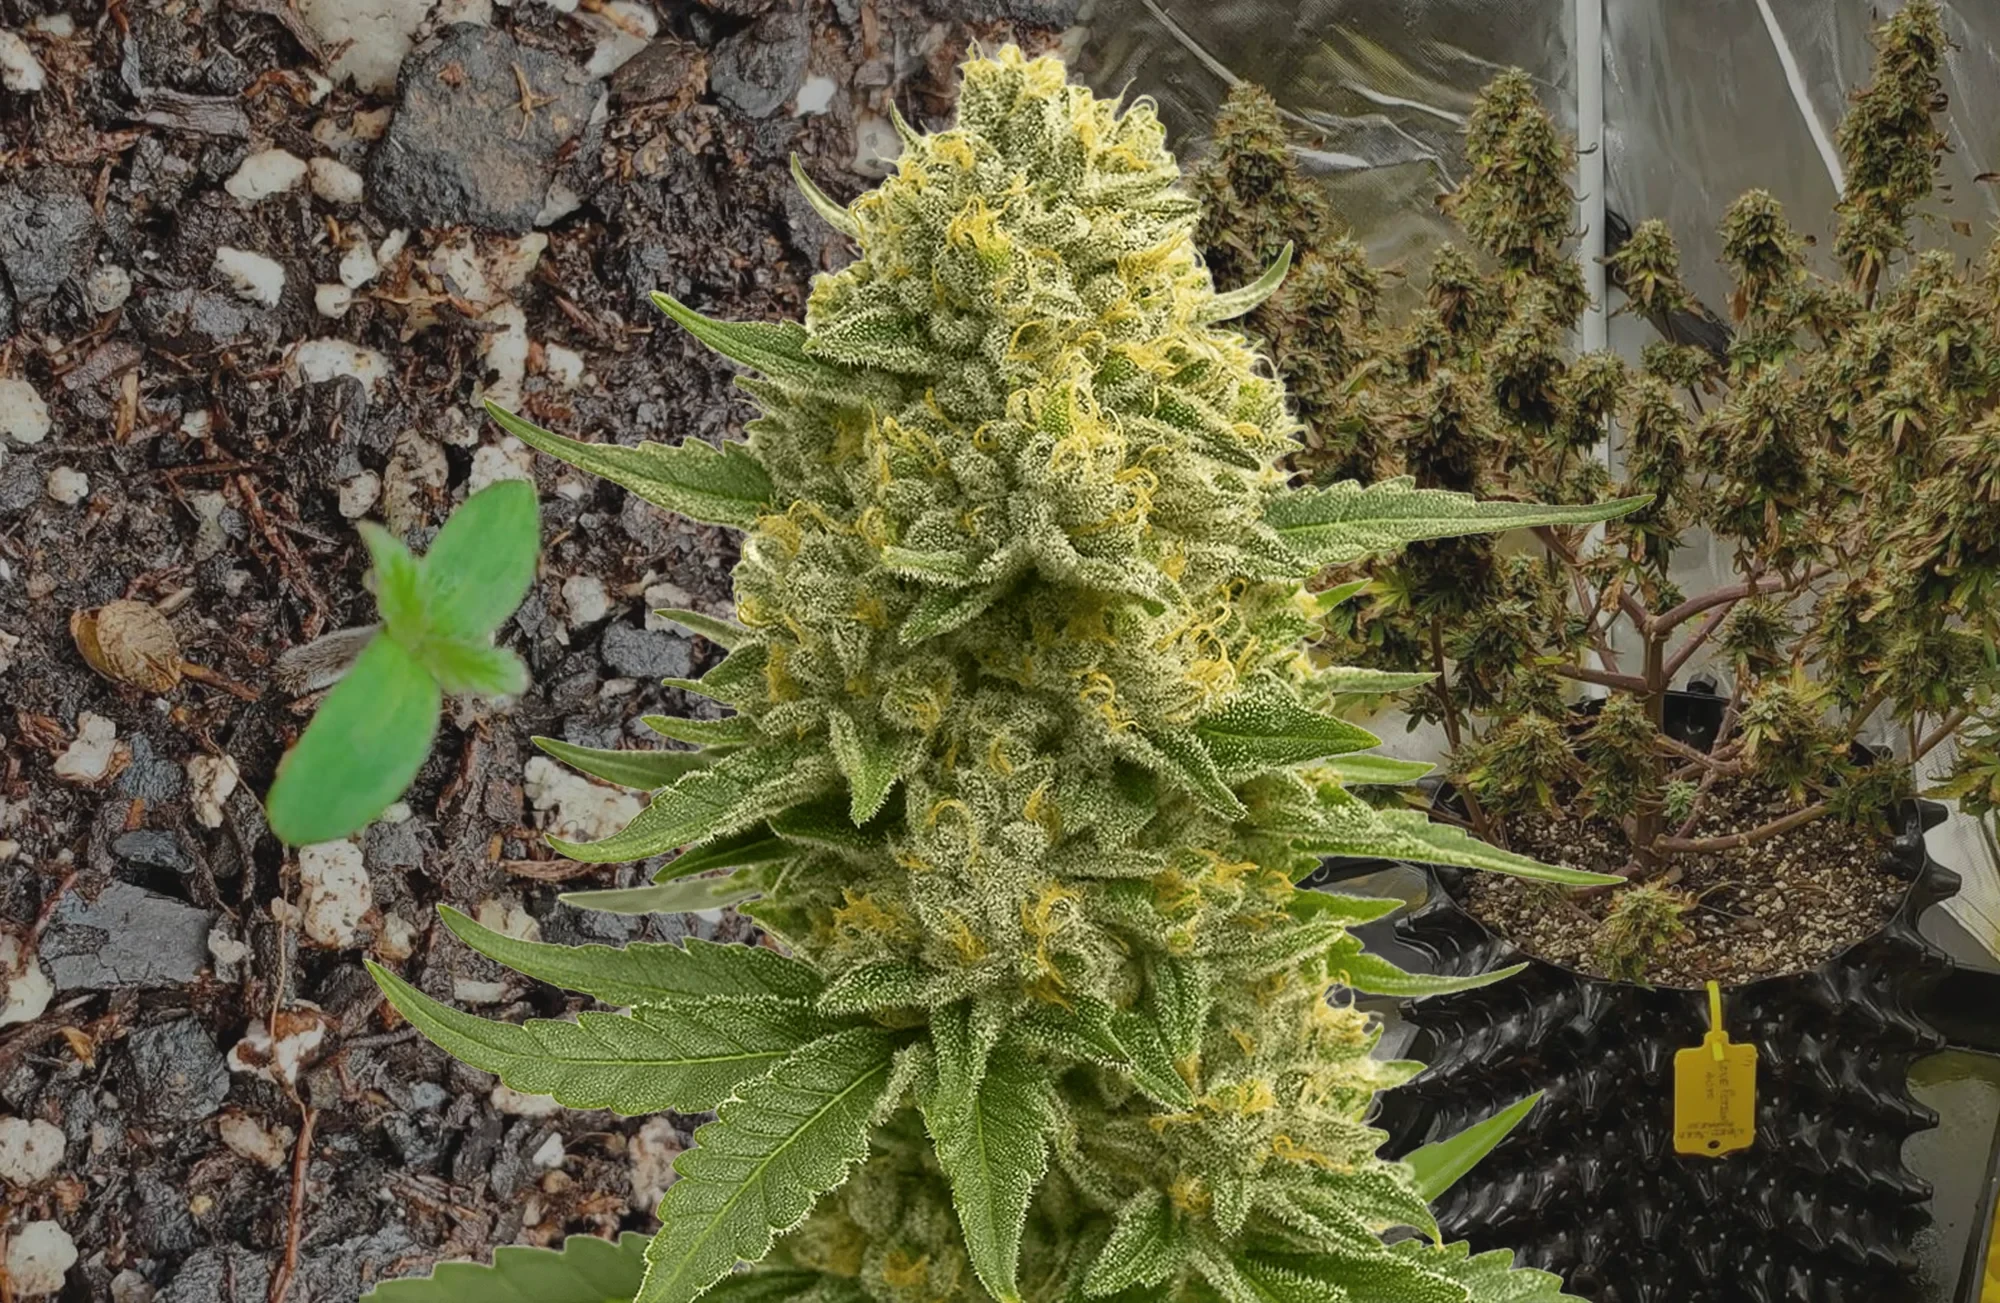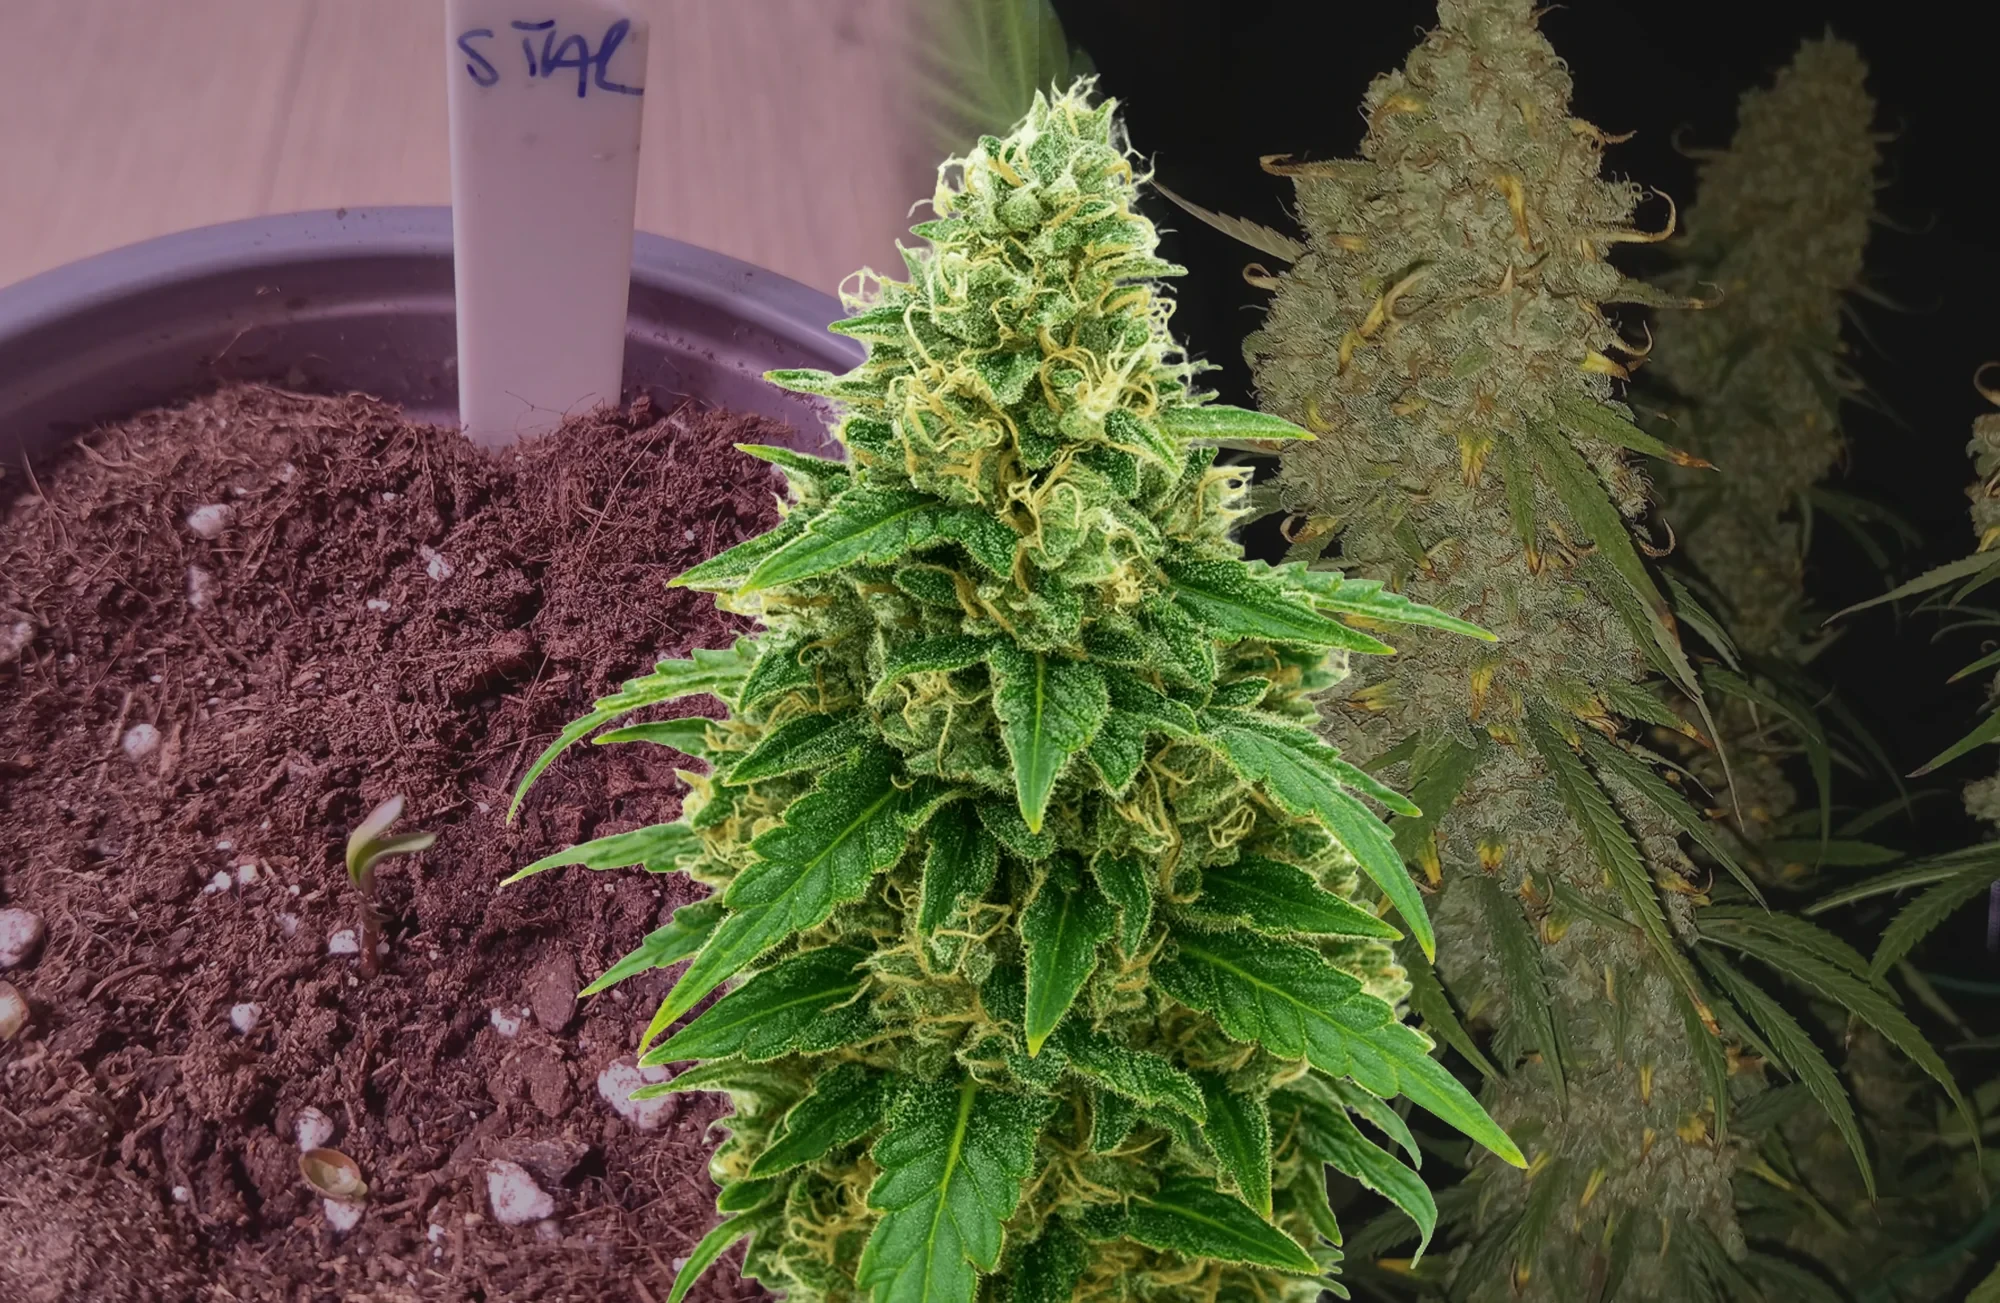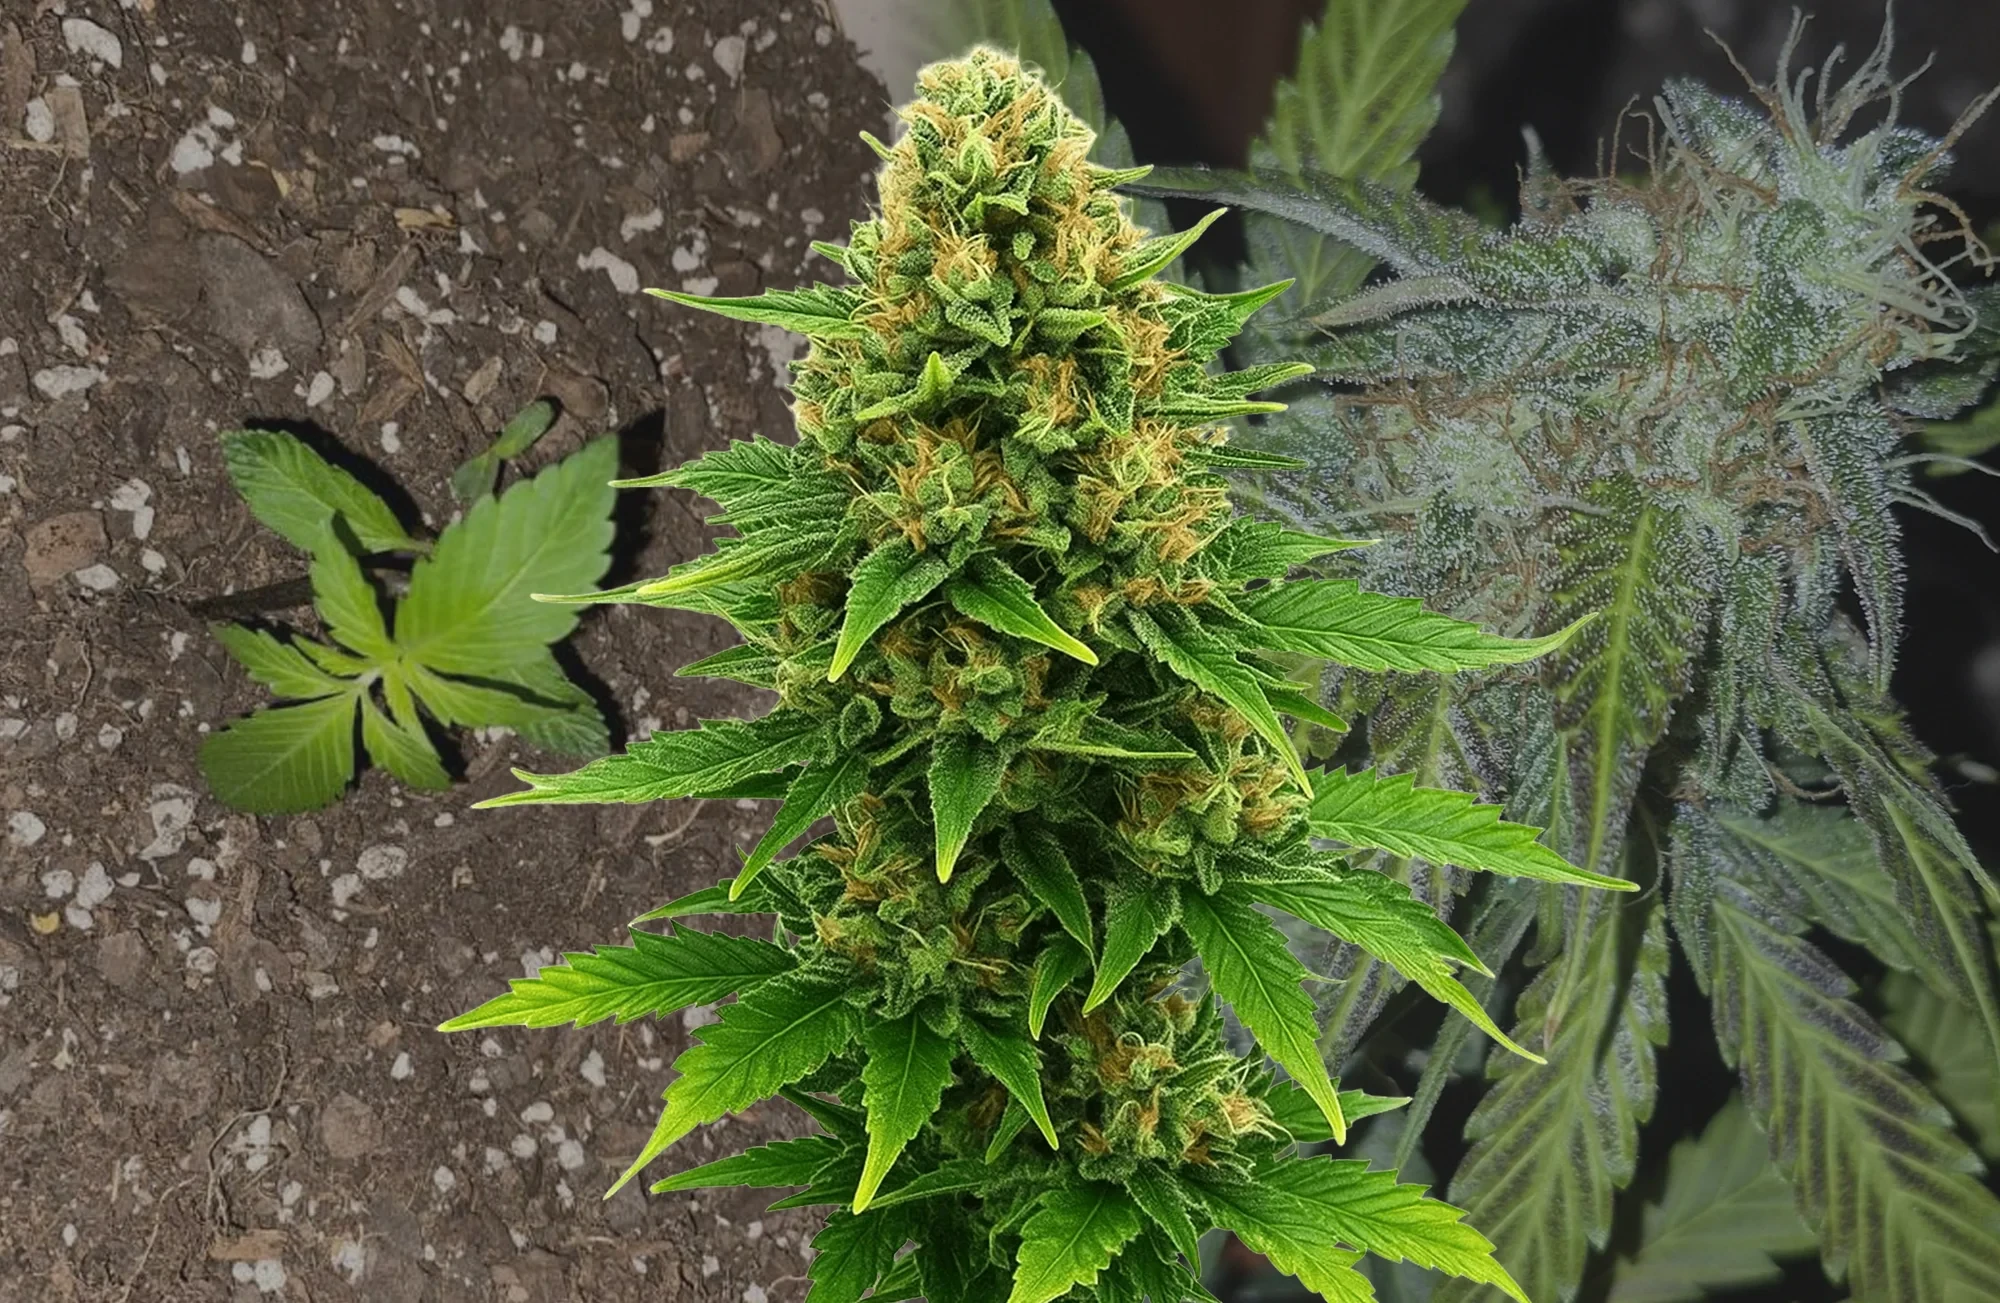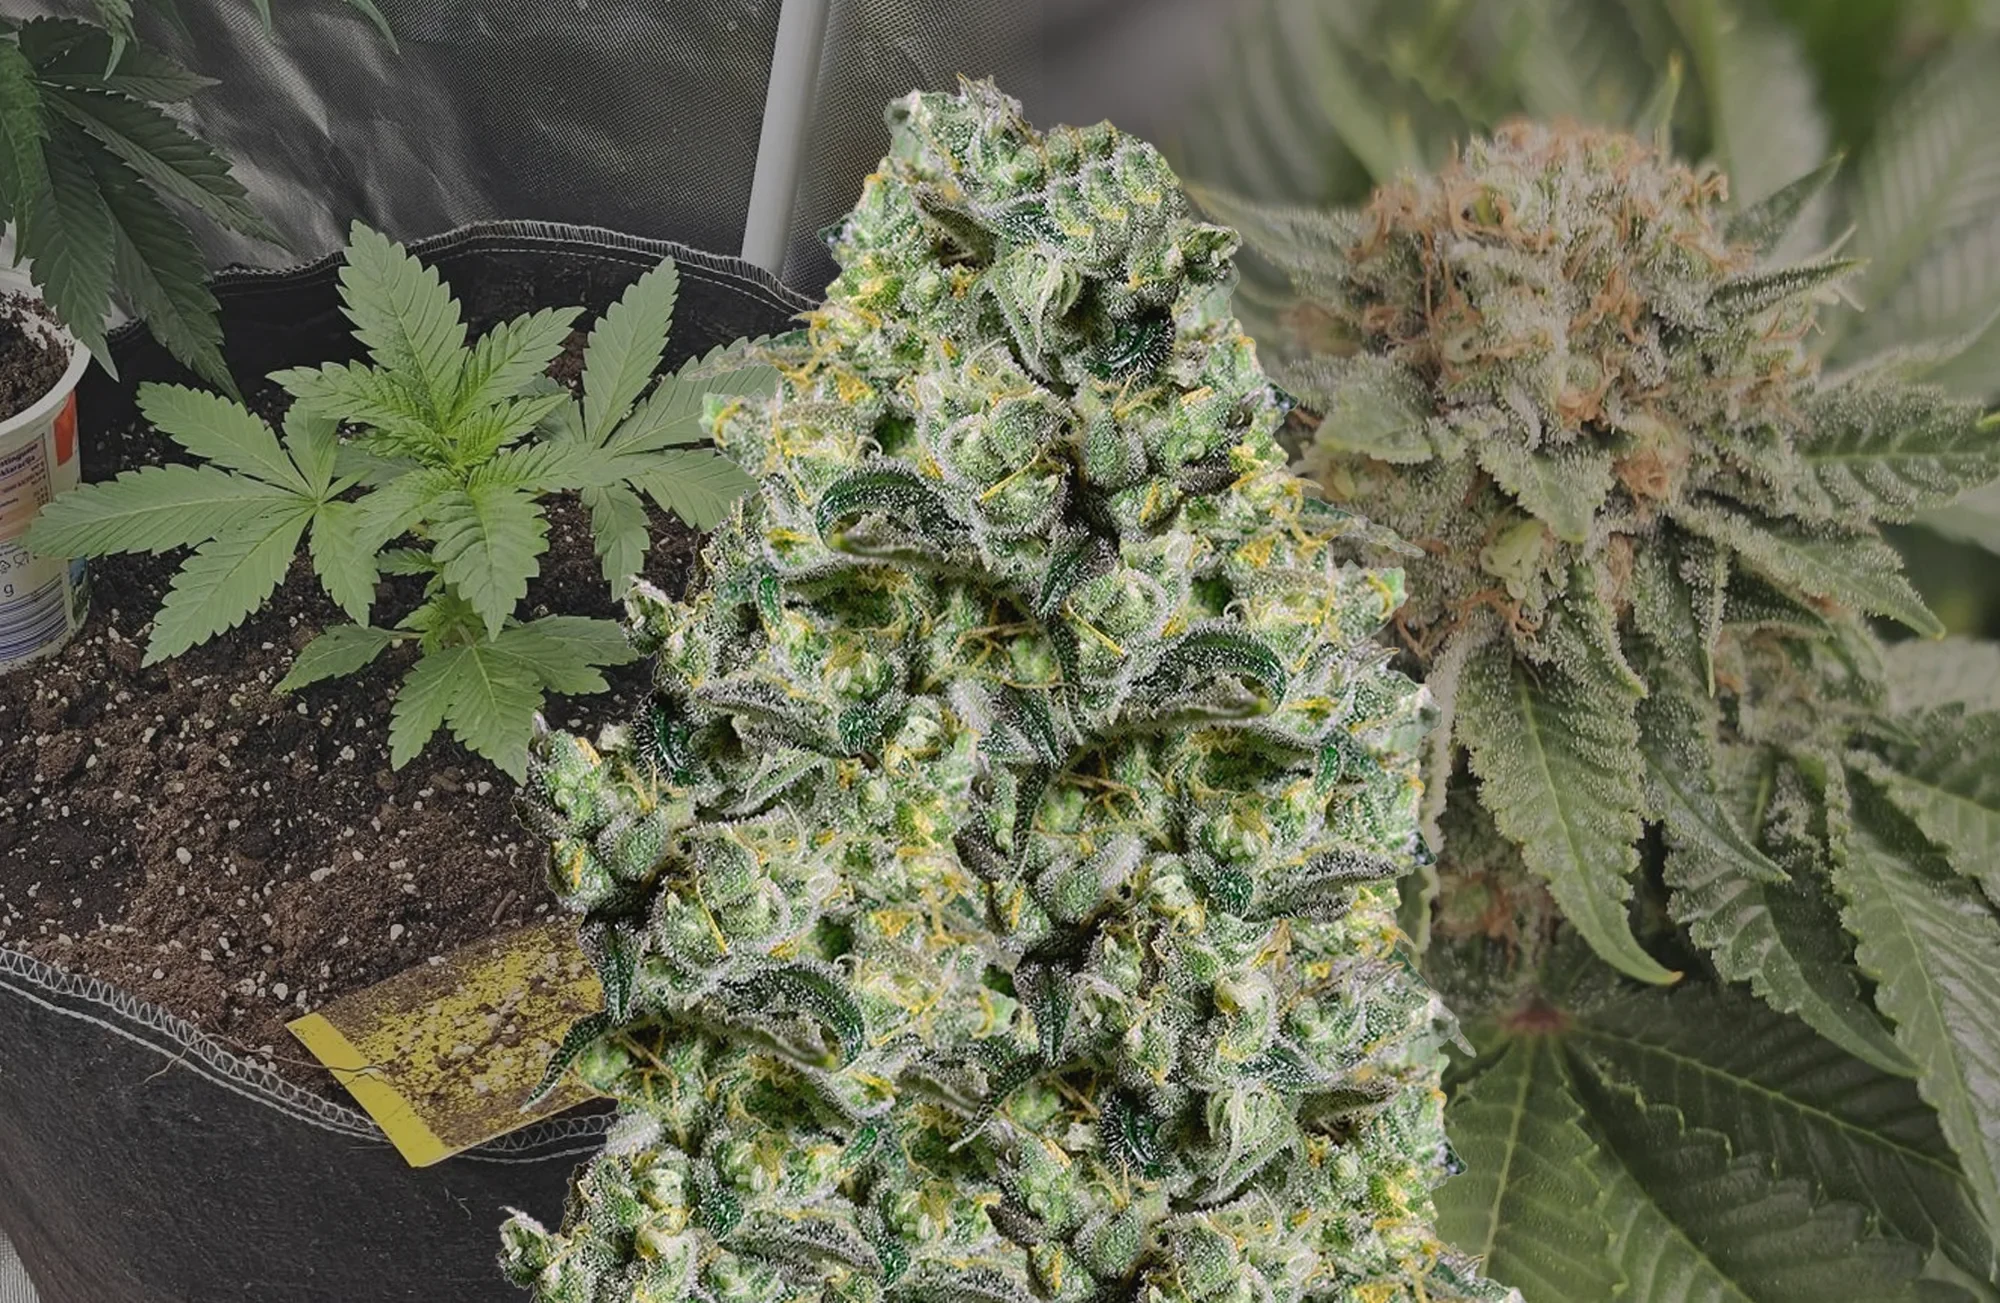


Every massive, heavy yielding cannabis plant starts its life as one tiny seed.
Think about those huge jars of frosty buds you want to grow. Before you get to enjoy that harvest, you have to start at the very beginning. You need to wake your weed seeds up.
In the growing world, we call this process germination. It might sound like a highly technical science term, but it is actually incredibly simple.
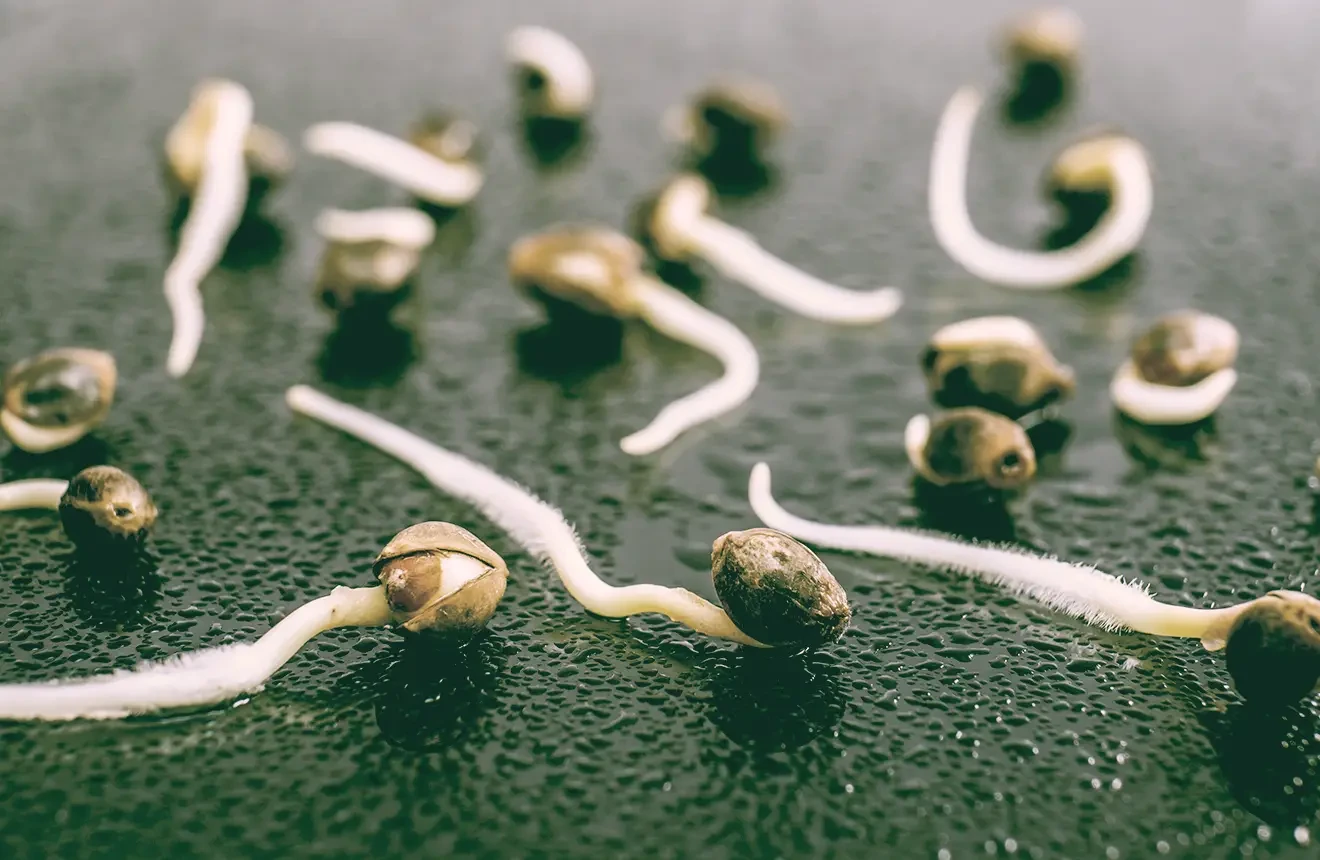
Germination just means taking a dormant seed and giving it the right environment to sprout. When you get this right, the hard outer shell cracks open and pushes out a tiny white taproot.
That little white tail is the very start of your new cannabis plant.
I know a lot of new growers get nervous about this step. Good cannabis genetics are not cheap. The last thing you want to do is ruin an expensive seed before it even hits the dirt.
But let me stop you right there. You do not need to worry.
I have popped countless seeds over the years, and I can tell you that germinating weed seeds is easy. You just have to follow a few basic rules.
Once you understand exactly what a seed needs to survive, you will get a healthy sprout almost every single time.
Let me show you exactly how to get it done.
Key Takeaways for Germinating Seeds
- The main goal: Germination is just waking up a sleeping seed so it cracks open and grows a small white root.
- The golden trio: To make a seed pop, you only need to provide three things. You need moisture, warm temperatures, and total darkness.
- Four proven methods: You can sprout seeds using damp paper towels, a glass of water, starter cubes, or by planting them straight into the soil. We will cover exactly how to do all four.
- Handle with extreme care: Once that white taproot appears, it is incredibly fragile. Never touch the root with your bare fingers. Always use clean tweezers.
The Four Golden Rules of Germination
Before we get our hands dirty, you need to know what makes a seed tick. You cannot just throw a seed in a pot and hope for the best. You have to trigger it to wake up.
To do that, you must provide the perfect environment. No matter which method you choose, germination comes down to four basic rules. Mastering these is ninety percent of the battle.
1. Steady Warmth
Weed seeds want to think it is springtime. They need a gentle, steady heat to activate. You want to aim for a temperature between 70 and 85 degrees Fahrenheit (about 21 to 29 degrees Celsius).
Big temperature swings will shock the seed and ruin your chances of a sprout. Keep the room warm and keep the temperature stable.
2. Moisture (But Not Too Much)
Seeds need water to soften their hard outer shell. But here is the catch. They also need to breathe. If you drown them in deep water for days, they will rot. You want your setup to be damp, not soaking wet.
Think of a sponge that you just wrung out. That is the exact moisture level you want.
3. Total Darkness
In nature, seeds pop underground. Taproots absolutely hate the light. You must give them a dark, safe place to do their thing.
Keep them hidden away in a cupboard or under a plate until the green leaves finally break through the dirt.
4. Oxygen
Roots need fresh air to survive. A waterlogged or tightly packed environment will suffocate your seed before it even starts growing. You have to make sure your chosen method allows for good airflow.
How to Germinate Cannabis Seeds: 4 Step-by-Step Methods
Here are the four most common and effective ways to pop your seeds. I always recommend the paper towel method for beginners. But all four of these will get the job done if you follow the rules.
Method 1: The Paper Towel Method (The Crowd Favorite)
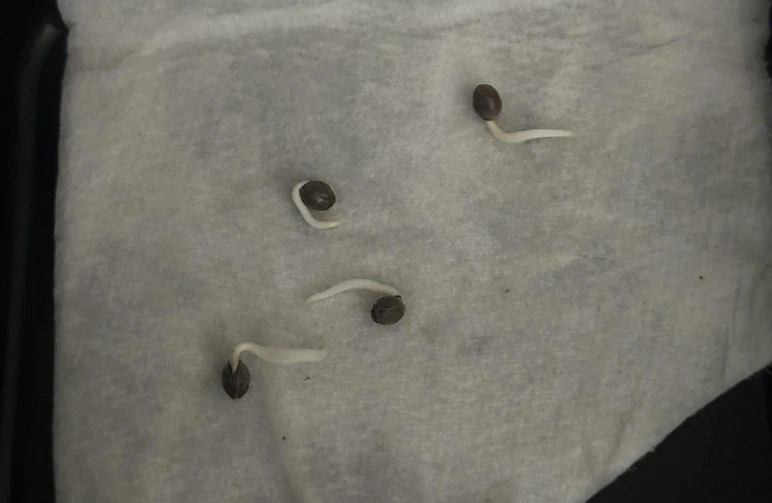
This is the undisputed champion of germination. Most growers use this method because it is incredibly reliable. Plus, it lets you see exactly what is happening. You do not have to guess if the seed popped.
What You Need:
- Your cannabis seeds
- Two clean plates
- A few plain paper towels (make sure they have no dyes or scents)
- A spray bottle filled with clean water
Step 1: Spray a couple of paper towels so they are damp. Squeeze out any extra water. You do not want puddles on the plate.
Step 2: Lay the damp towels flat on the first plate. Place your seeds on the towel. Give them some room to breathe. Space them at least an inch apart.
Step 3: Cover the seeds with another damp paper towel.
Step 4: Take your second plate and flip it upside down. Put it right on top of the first plate. You just created a dark and humid little dome.
Step 5: Put the plates in a warm spot. The top of a refrigerator or inside a warm cupboard works great.
Step 6: Check on them every 12 hours. If the towels feel dry, give them a quick spray. You should see white taproots in one to three days.
Method 2: Planting Directly in Soil (The Natural Way)
This is exactly how nature does it. The best part about this method is that you never have to touch the fragile taproot. You avoid transplant shock completely.
I love using this method for autoflower seeds since they absolutely hate being moved around.
What You Need:
- Your cannabis seeds
- A small starter pot or a plastic cup with holes in the bottom
- Light and airy seedling soil
- A spray bottle
Step 1: Fill your pot with soil. Do not pack it down hard. Give it a good watering and let all the extra water drain out the bottom. You want the dirt moist but not muddy.
Step 2: Take your pinky finger or a pen. Poke a small hole right in the middle of the dirt. Make it about half an inch deep.
Step 3: Drop your seed into the hole.
Step 4: Gently push a little bit of dirt over the seed to cover it. Leave it loose. Do not press down or the sprout will struggle to push through.
Step 5: Keep the pot in a warm spot. Use your spray bottle to keep the top of the soil moist. You will see a little green sprout poke through the dirt in three to seven days.
Method 3: The Water Soak Method (Best for Older Seeds)
Sometimes you get your hands on some older seeds. Older seeds have very tough, hard shells. The paper towel method might not be enough to break through.
That is when you use a water soak to kickstart the hydration process.
But be careful. This method carries a big risk. If you leave the seeds in the water for too long, they will drown.
What You Need:
- Your cannabis seeds
- A glass or a small bowl
- Room temperature filtered water
Step 1: Fill your glass about halfway with the room temperature water.
Step 2: Drop your seeds right into the glass. They might float at first. That is totally normal.
Step 3: Put the glass in a warm and dark place. Do not leave them in there for more than 24 hours. Any longer and the seed will suffocate.
Step 4: Check the glass after 12 to 24 hours. If you see a tiny white root, the seed is ready to plant immediately. If the shell has not popped yet, take the seed out. Move it to the paper towel method to finish the job safely.
Method 4: Starter Plugs and Rockwool Cubes (For Hydroponics and Precision)
If you want to make things super easy, grab some starter plugs. Plugs made of peat, coco coir, or Rockwool provide a very stable home for your seeds.
They hold the exact right amount of water and air. This is a foolproof setup for beginners and a must for hydroponic growers.
What You Need:
- Your cannabis seeds
- Starter plugs or Rockwool cubes
- A plastic tray to hold them
- Clean water (pH balanced to 5.5 or 6.0 if you use Rockwool)
Step 1: Soak your plugs or cubes in the water. Give them a gentle squeeze to remove the extra water. You want them damp, not dripping.
Step 2: Most plugs have a tiny hole already poked in the top. Drop one seed into each hole.
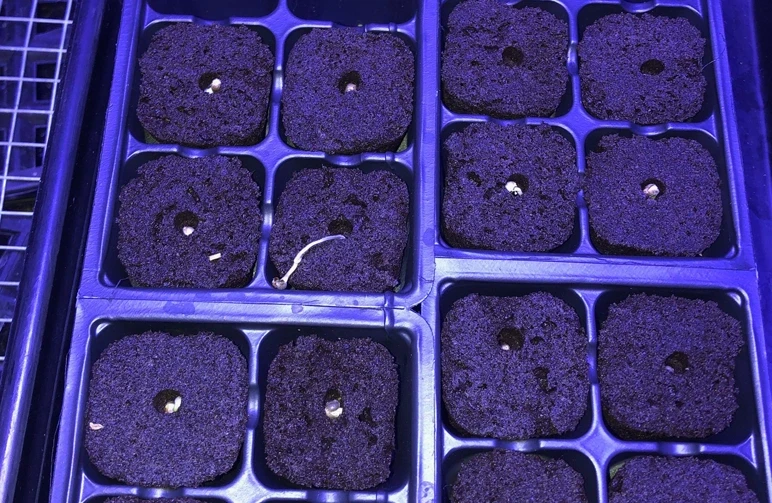
Step 3: Pinch the top of the hole closed. You can also tear off a tiny piece of the plug material and cover the hole. This keeps the light out.
Step 4: Put the plugs in your tray and keep them in a warm place. If you have a plastic humidity dome, put it over the tray. Keep the plugs moist. A green sprout will pop up in three to seven days.
What to Do After Your Seeds Sprout: Transplanting and Early Care
Okay, your seed cracked open. You see that beautiful white taproot. Now the clock is ticking. You need to move your delicate seedling to its first real home.
When to Transplant Your Sprouted Seed
Do not wait too long. The perfect time to plant is when the taproot is about half an inch to one inch long (around 1 to 2.5 cm).
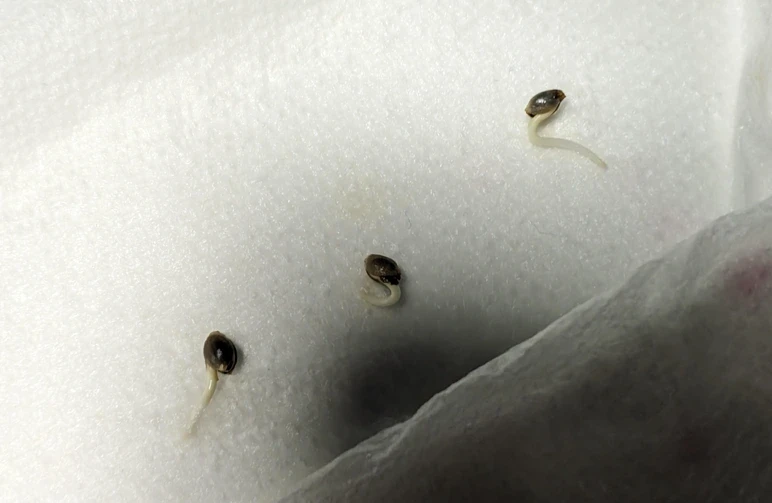
If you wait too long on a paper towel, the root will grow right into the paper. You will end up ripping the root trying to get it free. That is a fast way to ruin a great seed.
Get them into the dirt as soon as they reach that sweet spot.
How to Gently Transplant Your Seedling
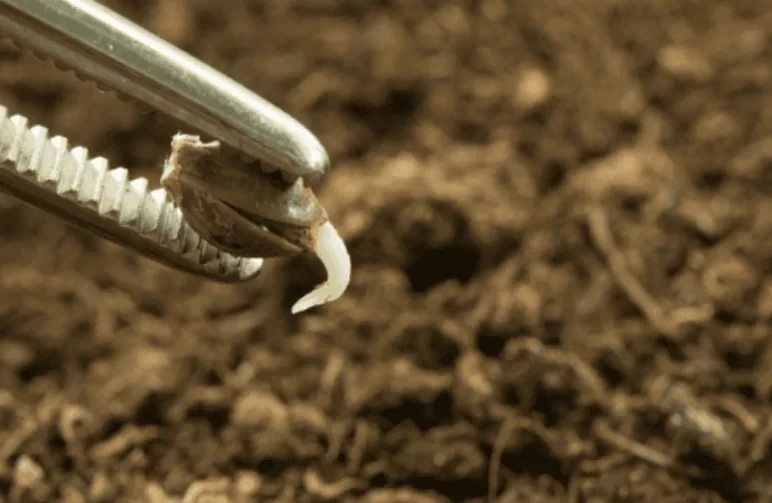
The number one rule here is simple. Protect the taproot at all costs. That white root is the lifeline of your new plant. It is incredibly fragile.
Step 1: Fill a small pot with moist soil. Poke a small hole in the dirt about half an inch deep.
Step 2: Grab a pair of clean tweezers. Gently pick up the sprouted seed by the hard outer shell. Never touch the white root with your bare fingers. The oils on your skin can damage it.
Step 3: Carefully drop the seed into the hole. Make sure the white taproot is pointing downwards into the dirt.
Step 4: Lightly push a little dirt over the seed to cover it. Give it a gentle spray of water to settle the soil.
Early Seedling Care: Light, Water, and Humidity
Now that your seed is in the dirt, you need to keep it happy. The seedling stage is delicate. If you are setting up your tent for the very first time, make sure to check out our complete guide on how to grow weed indoors.
But for right now, here is exactly what your baby plant needs to survive those first few days.
- Light: A new seedling does not need a massive, intense grow light. A standard fluorescent bulb or a dimmed LED light a few feet away is perfect. Give the plant 16 to 18 hours of light every single day.
- Water: Keep the soil moist, but do not turn it into a swamp. Use your spray bottle to water the dirt right around the base of the seedling. Overwatering is the biggest mistake new growers make at this stage. Keep the heavy watering can away for now.
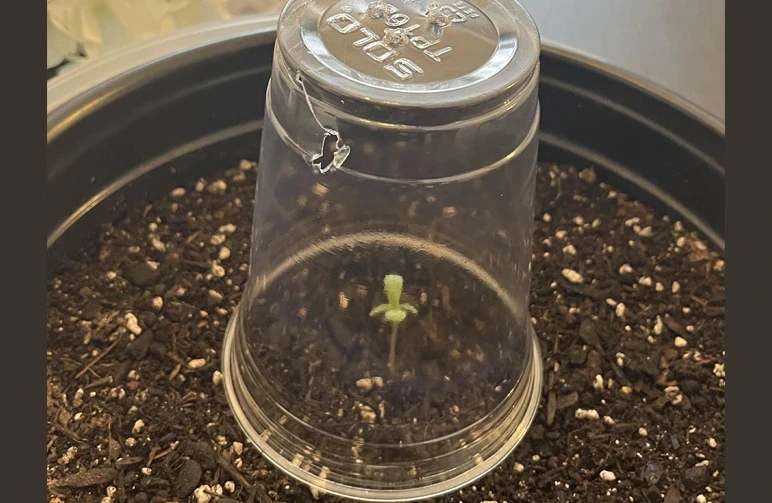
- Humidity: Seedlings absolutely love high humidity. You can build a cheap mini greenhouse to keep them happy. Just cut a clear plastic water bottle in half and put it over the seedling. A clear plastic solo cup works great too.
Troubleshooting: Solving Common Germination Problems
Sometimes things do not go as planned. Do not panic. Even the best growers run into issues. Here is how to fix the most common germination problems.
Problem: Seeds Aren't Sprouting
Sometimes your seeds just sit there and do absolutely nothing. This is usually caused by three things. You have poor quality seeds, your room is too cold, or your moisture levels are way off.
Make sure you buy your seeds from a trusted source. Keep your temperatures stable and warm. Make sure your paper towels are damp, not flooded.
And remember to be patient. Some seeds just take a little longer to wake up.
Problem: The Seed Shell is Stuck ("Helmet Head")
You look in your pot and see a green sprout, but the hard seed shell is stuck right on top. We call this "helmet head." It stops the first set of leaves from opening.
This happens when the air is too dry. The shell dries out and gets stuck to the plant.
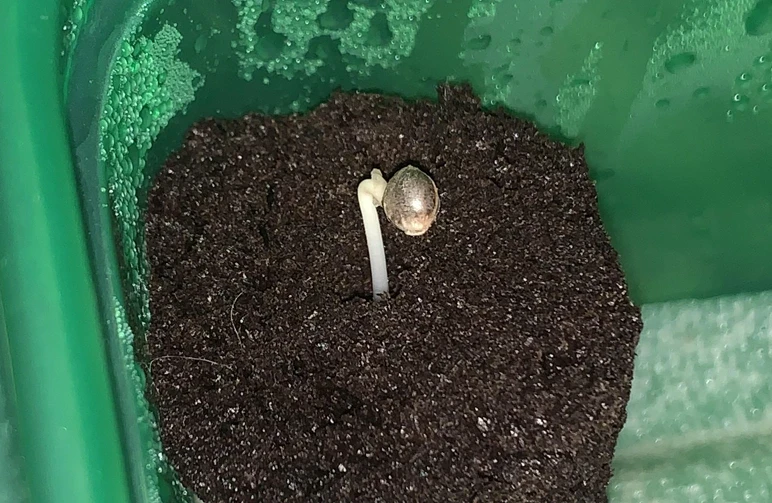
To fix it, put a clear plastic cup over the sprout to trap the humidity. The moisture will soften the hard shell. If the shell is still stuck after 24 hours, give it a light spray of water.
Then, very carefully, use clean tweezers to gently nudge it off. This is a last resort, so be gentle.
Problem: Mold is Growing on My Paper Towel
Mold loves a stale, overly wet environment. If you see fuzzy white or gray stuff on your paper towels, you used way too much water. You also did not let enough fresh air in.
Always wring out your paper towels completely. Check your plates every single day to let some fresh air flow through the setup.
Frequently Asked Questions
What are the essential conditions for seed germination?
You only need four things. You need steady warmth (between 70 and 85 degrees Fahrenheit), consistent moisture, total darkness, and oxygen. Hit those four marks and you will succeed.
How long do cannabis seeds take to germinate?
Most healthy seeds will push out a white taproot in one to four days. But timelines can vary based on the age of the seed and the genetics.
Give them time. However, if ten days go by and nothing happens, throw the seed away. It is a dud.
When should I transplant my sprouted seeds?
Move them to the dirt when the white taproot is between half an inch and one inch long. This gives the plant a strong start. It also keeps you from ripping a massive root during the move.
Why does the seed shell sometimes get stuck on the seedling?
This is the "helmet head" issue we just talked about. It is caused by low humidity. The shell dries out and cannot fall off on its own. Just bump up the humidity around the plant and the shell will usually slide right off.
The Wrap Up
A massive harvest starts with a perfect germination. If you understand the biology and give your seeds a stable home, you set your plants up for a great life. It all starts with that brave little taproot.
At Weedseedsexpress, we built our name on authentic genetics and real support for our growers. When you are ready to start your next run, check out our hand picked lineup of seeds. We are always here to help you get it right, from the very first sprout to the final trim.
Keep learning, keep your grow room clean, and happy growing!