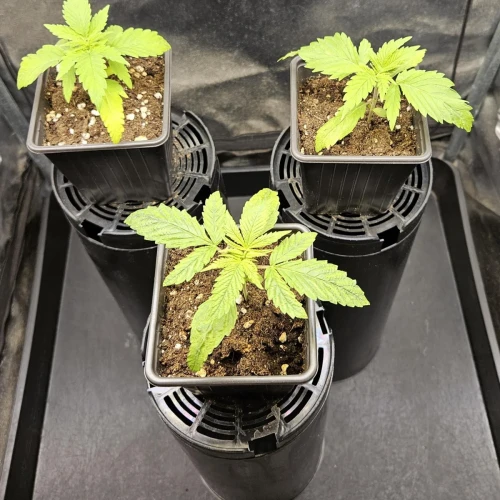
Haze #1 Feminized was grown by OrionSparkles indoors in a compact 0.6 m² setup, using three photoperiod plants from WeedSeedsExpress.
The grow started with a straightforward germination process: glass of water first, then wet paper napkin until the seeds were fully ready to go. No overthinking.
No messy start. Just three Haze #1 seeds moving into their cycle cleanly.
This was a small-space indoor run with a Secret Jardin DR60 tent, Hiroshima 150W LED, soil and coco coir, and a Guanokalong nutrient line.
Simple gear, simple plan, and enough control to keep a Haze cultivar from turning the tent into a jungle.
Grow Setup
| Parameter | Details |
|---|---|
| Strain | Haze #1 Feminized Seeds by WeedSeedsExpress |
| Grower | OrionSparkles |
| Grow Environment | Indoor |
| Grow Room Size | 0.6 m² |
| Number of Plants | 3 |
| Medium | Soil and coco coir |
| Tent | Secret Jardin DR60 |
| Light | Hiroshima 150W LED |
| Fan | Secret Jardin Monkey Fan 30W |
| Extractor | 125 mm helical extractor |
| Pot Size | 7 L final pots |
| Watering Volume | 0.5 L through most of the grow |
| pH Range | 5.3 to 6.8 |
| Main Nutrient Brand | Guanokalong |
| Nutrients Used | Complete Organics, Florizon, Palm Tree Ashes, Sweet Bat |
| Vegetative Light Schedule | 18 hours |
| Flowering Light Schedule | 12 hours |
| Training Techniques | Transplantation, FIMing, defoliation |
Grow Diary
Weeks 0-2 - Germination, Seedling Stage & Early Development
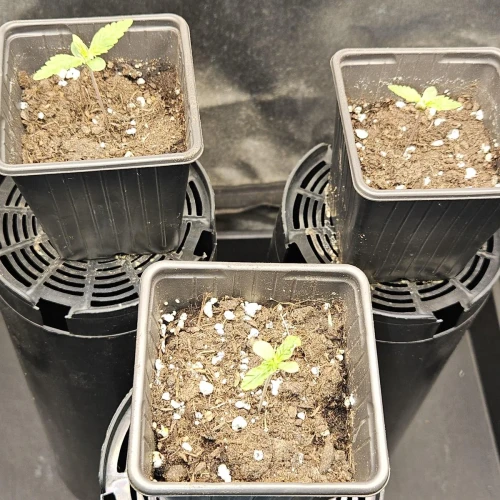
OrionSparkles started the three Haze 1 seeds in a glass of water for around 12 hours, then moved them to a wet paper napkin until full germination. Germination started on 05/01 and finished on 11/01.
Clean and tidy. Exactly what you want before the real work begins.
By week 1, the seedlings were in pre-transplant pots with the LED dimmed right down. Smart move. Seedlings do not need to be blasted. They need a soft start, stable moisture, and time to build roots.
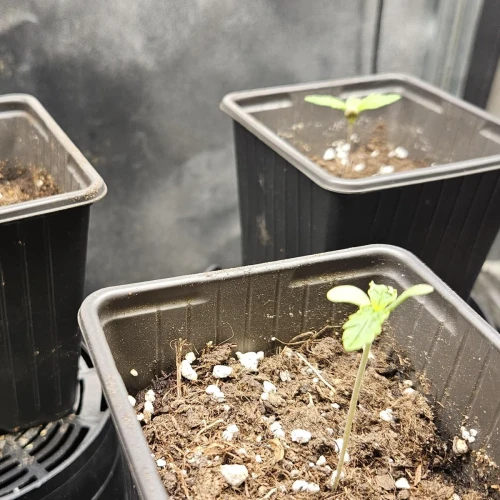
Week 2 stayed on track. The plants were developing, transplant time was coming, and watering was kept light at around 10 ml per pot. No stress signs worth shouting about. No drama. Good start.
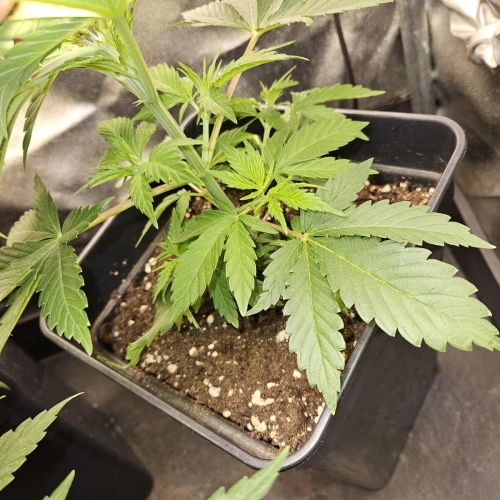
Weeks 3-4 - Transplant and Veg Development
By week 3, the plants were growing without anomalies. OrionSparkles described them as perfect and ready for their final containers. That is the sort of boring update every grower should love. Boring means healthy.
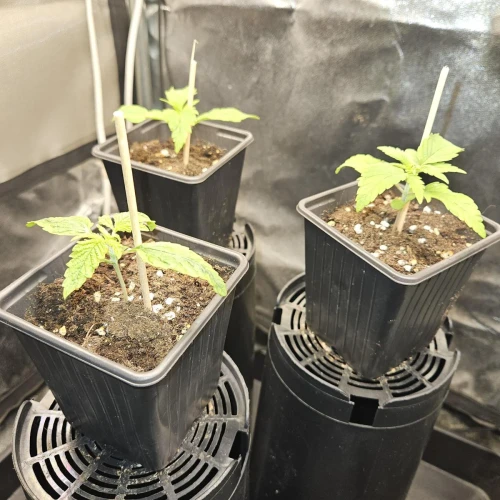
Week 4 brought the move into 7 L final pots. Each pot received around 30 gram of Guanokalong Complete Organics, giving the medium a stronger base before the plants started pushing harder.
This was the first proper setup move. Final pots. Organic base feed. Roots given room. For a Haze plant in a small tent, that matters.
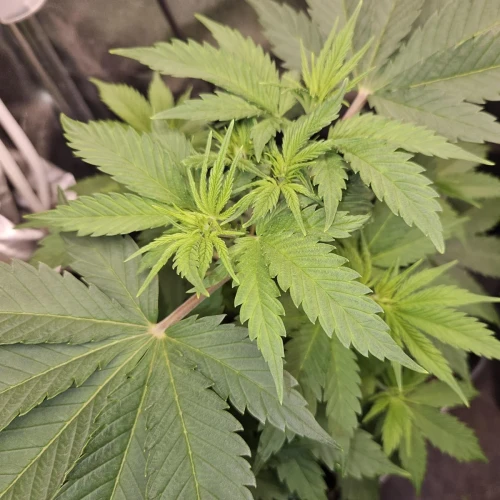
Weeks 5-6 - FIMing and Flower Prep
Week 5 was training week. OrionSparkles FIM pruned the plants and planned to flip them to flower in around 10 days. Florizon was also added at 3 ml per 1.5 L of irrigation water.
FIMing can be a little rougher than a clean top, but it makes sense here. Three Haze plants in 0.6 m² need shape control. Let them run wild and they will absolutely try to own the tent.
By week 6, the plants had developed heavily. The grower was happy, the structure was there, and the switch to flowering was only a couple of days away. Good timing. Not too early, not too greedy.
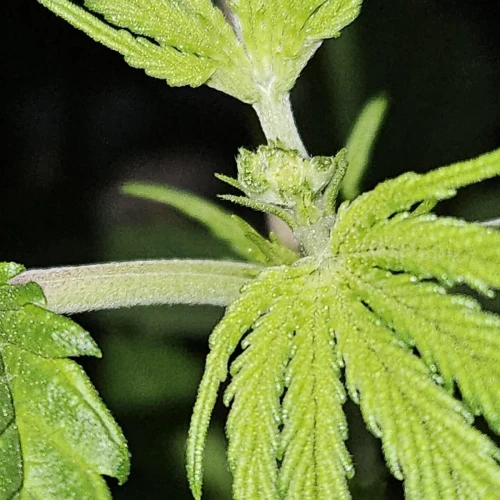
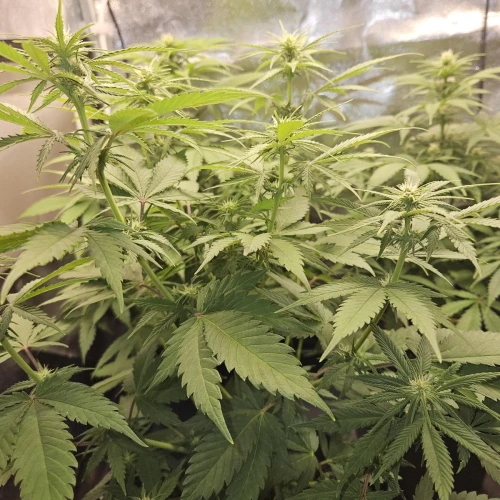
Weeks 7-8 - Flowering Begins and Bud Sites Form
Week 7 marked the switch to 12/12. OrionSparkles did a slight defoliation, added Palm Tree Ash at 30 gram per 7 L pot, and watered with Florizon at 2 ml per 1.5 L of water.
This was not a heavy strip. Just a clean-up. Better airflow, better light access, less clutter before flower really starts stacking.
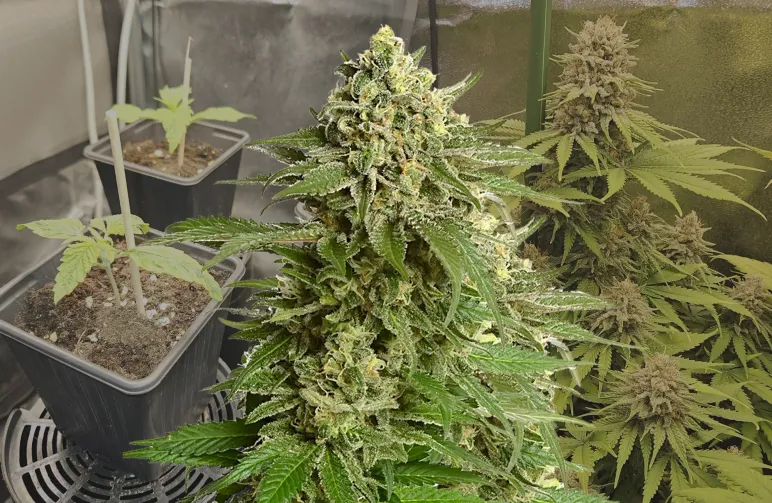
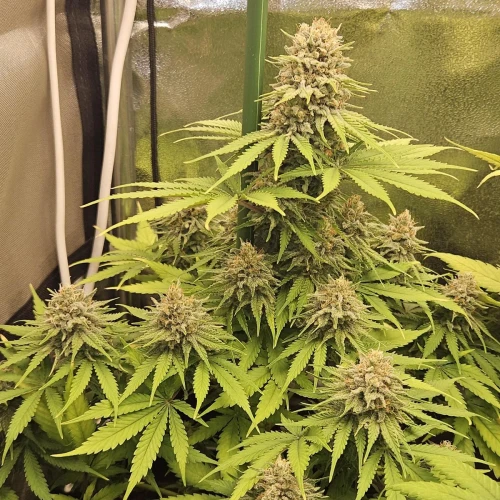
By week 8, the buds were beginning to form, and the lamp dimmer was pushed to maximum. The plants sat around 30 cm tall, which is nicely controlled for Haze genetics in a small indoor space.
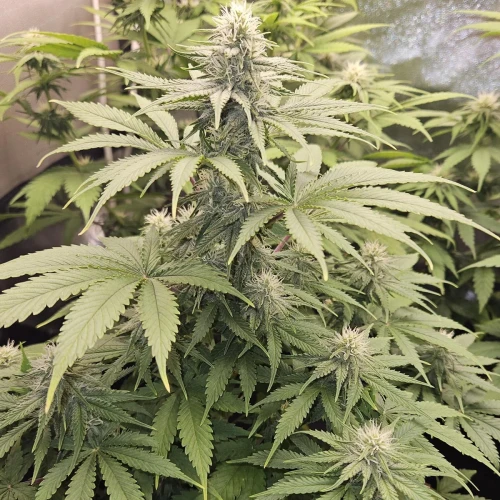
Weeks 9-10 - Bloom Feeding and Flower Build
Week 9 brought in Sweet Bat, with 35 gram added across the grow, roughly one tablespoon per 7 L pot. The plants stayed compact, the setup stayed steady, and flower production kept moving.
By week 10, OrionSparkles described the crop as being in full bloom and going very well.
Sweet Bat and Palm Tree Ash were both applied at around 20 gram per pot, with the grower noting this would be the final application of those fertilizers.
That is a sensible flower feed strategy. Support the bloom, then stop throwing dry amendments at the plant too late. More is not always better. Sometimes more is just more problems waiting to happen.
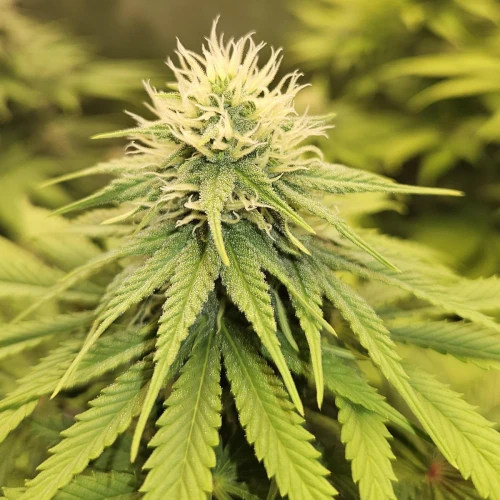
Weeks 11-12 - Ripening and Aroma Development
Week 11 was all about maturity. The plants reached 43 cm, the smell moved to normal, and OrionSparkles noted they were maturing at full capacity. That is the kind of late-flower update you want.
Calm, confident, and moving in the right direction.
Week 12 kept the same rhythm. The plants held at 43 cm, the smell stayed normal, and the grower could see harvest getting closer. No major fixes. No last-minute panic. Just ripening.
For a small indoor Haze run, this was tidy work.
Weeks 13-14 - Final Ripening and Harvest
By week 13, the smell had become strong, and the plants were finishing ripening. OrionSparkles expected harvest very soon, and the crop looked ready to close out properly.
Harvest came in week 14. Around four days before chop, the grower did a root wash. The plants were harvested, given a first manicure, and placed into 70 cm x 70 cm drying meshes.
The plan was a 10 to 15 day dry, followed by a final manicure and cure in jars.
No dry yield was listed, so we are not inventing one. The diary gives enough without pretending there are numbers that are not there.

Detailed Observations & Grower’s Reflections
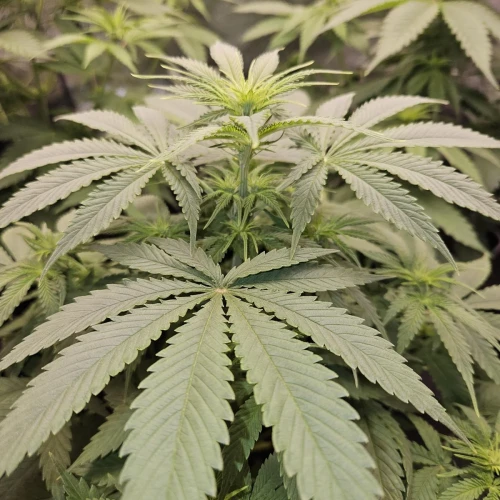
Haze 1 Feminized behaved well in this setup. The plants stayed manageable, handled FIMing and light defoliation, and never seemed to fight the grower.
The biggest win here was control. Haze plants can stretch, crowd, and get awkward indoors if the timing is wrong.
OrionSparkles kept the veg period sensible, flipped before the tent got crowded, and let the plants finish without overworking them.
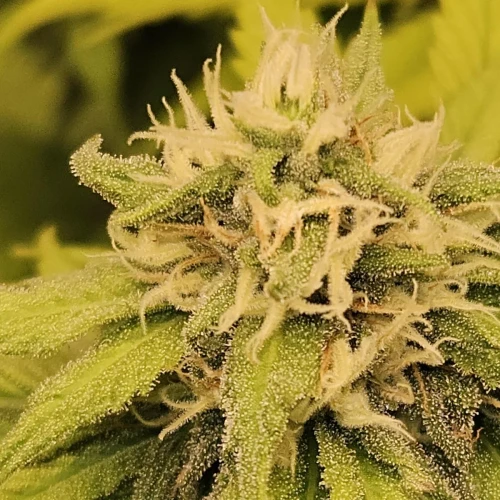
The final profile was classic Haze territory: citrus, woody, and herbal. The effects were listed as creative, energetic, and euphoric. Not sleepy couch weed. More like bright, lifted, get-your-head-moving weed.
Challenges & Solutions
The main challenge was space. Three photoperiod Haze plants in a 0.6 m² tent can turn messy fast.
OrionSparkles handled that with FIMing in veg, a controlled flip into flower, and light defoliation at the start of bloom. Nothing excessive. Just enough intervention to keep the plants useful instead of wild.
Feeding was also kept nicely staged. Complete Organics went in after transplant, Florizon carried through flower, and the heavier bloom amendments were stopped after week 10.
That gave the plants support without turning late flower into a feeding circus.
Final Result and Strain Review
Based on this diary, Haze 1 Feminized showed itself as a manageable indoor photoperiod strain with a clean Haze-style finish.
The plants stayed compact at 43 cm, finished after 93 days, and earned a 10/10 rating from OrionSparkles. Difficulty was listed as normal, which feels fair.
This was not a hard grow, but it still needed timing, restraint, and basic canopy control.
Taste came through as citrus, woody, and herbs. Effects were creative, energetic, and euphoric, with medical tags listed for stress, pain, and depression.
The grow did not include a final dry yield, but it did show a solid result from a small indoor setup. Three plants, clean structure, strong late aroma, and a grower who clearly liked the final crop.
| Metric | Result |
|---|---|
| Total Grow Time | 93 days |
| Plants Harvested | 3 |
| Final Height | 43 cm |
| Difficulty | Normal |
| Final Rating | 10/10 |
| Taste | Citrus, woody, herbs |
| Effects | Creative, energetic, euphoric |
| Medical Effects | Stress, pain, depression |
| Dry Yield | Not provided |
| Drying Plan | 10 to 15 days in 70 cm x 70 cm drying meshes, then final manicure and cure |
Ready to get these results? Buy Haze #1 Feminized Seeds Here.


