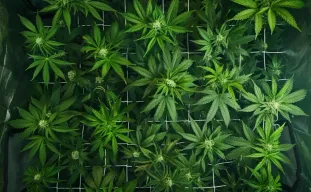
 Grow TechniquesThe Complete Guide to Cannabis Plant Training: LST, Topping, and ScrOGWe've bent, topped, tucked, and trellised more plants than we can count in our Amsterdam grow lab, and the verdict is si...
Grow Techniques
Learn advanced cannabis cultivation techniques to optimize your grow, boost yields, and improve plant health.
Grow TechniquesThe Complete Guide to Cannabis Plant Training: LST, Topping, and ScrOGWe've bent, topped, tucked, and trellised more plants than we can count in our Amsterdam grow lab, and the verdict is si...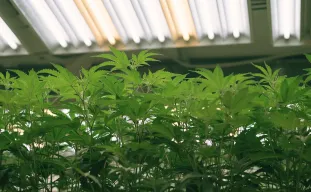 Grow TechniquesThe Ultimate Autoflower Light Schedule Guide: Maximize Your YieldsIf you're staring at your timer wondering whether to run 18/6, 20/4, or go full send with 24/0, breathe. Autoflowers don...
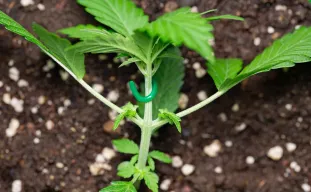 Grow TechniquesThe Ultimate Guide to LST for Autoflowers: Get Bigger Yields (Step-by-Step)If you want your autoflowers to punch above their weight without stressing them out, low-stress training (LST) is the mo...
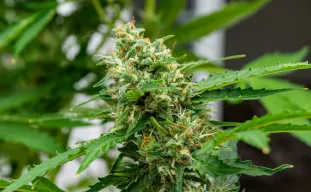 Grow TechniquesAutoflower Nutrients: The Complete Guide & Feeding Schedule For Bigger YieldsIf you've ever stared at a bottle of plant food and wondered, "Will this fry my autos?", this Guide To Autoflower Nutrie...
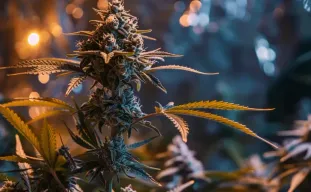 Grow TechniquesHow to Maximize THC: An Advanced Grower's Guide to Training & PotencyWe've all seen two plants grown side by side under the same light: one frosty like it rolled in powdered sugar, the othe...
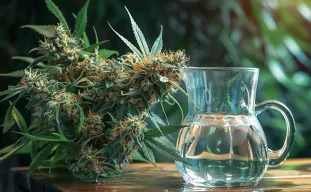 Grow TechniquesWhat Does Flushing Mean and When Should You Do It?You have fed, trained, and nurtured your plants for months.
The buds are fat, pistils are turning, and you can almost ta...
Grow TechniquesWhat Does Flushing Mean and When Should You Do It?You have fed, trained, and nurtured your plants for months.
The buds are fat, pistils are turning, and you can almost ta...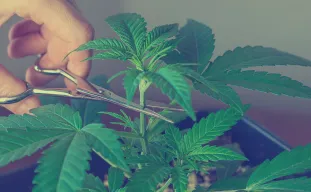 Grow TechniquesGuide to Topping and Pruning Indica Cannabis for Maximum Yield and PotencyIf your indica cannabis plants are getting bigger than your quarantine beard, it's time to take care of them yourself. T...
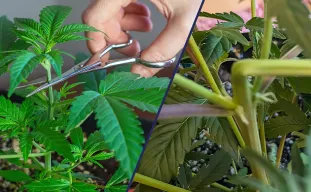 Grow TechniquesSuper Cropping vs. Topping: Which Technique Delivers Higher Cannabis Yields?Consider this: You are in your lush grow room, where you can see your healthy cannabis plants. You can't stop thinking a...
 Grow TechniquesHow to Use Sea of Green Technique to Maximize Your Fast-Flowering Cannabis YieldWant to get every last gram out of your fast-flowering cannabis strains? Say hello to the Sea of Green (SOG) method, whi...
 Grow TechniquesHow to Apply Mainlining Technique to Autoflower Cannabis PlantsAlright, fellow growers, today we're diving into a slightly controversial subject: mainlining autoflowers. Yeah, I can a...
 Grow TechniquesDefoliation Techniques for Feminized Cannabis: Boost Airflow & Yield QualityGrowing cannabis isn’t about being perfect, it's about being bloody effective. If you're growing feminized cannabi...
 Grow TechniquesGuide: Mainlining Weed Plants (manifold cannabis)Whether you are new to cannabis growing or have experience, you probably have considered mainlining. You might not know ...
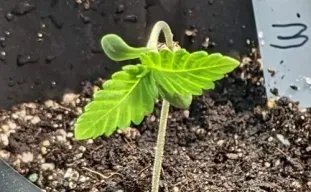 Grow TechniquesThe Best Soil to Use for Autoflower PlantsI've been growing cannabis for years, and in that time, I've witnessed firsthand the rise of autoflowering strains. Thes...
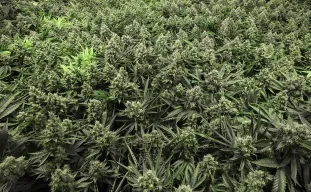 Grow TechniquesSea of Green method (SOG) - The Ultimate GuideAs growing weed gradually moved from outdoor to indoor cultivation, growers quickly came to the conclusion that placing ...
 Grow TechniquesSpace Bucket Grow GuideShort on space and not exactly flush with cash, but still want to get in on the whole homegrown weed phenomenon? Or mayb...
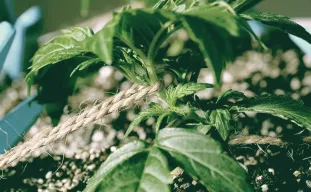 Grow TechniquesStep by Step Guide: Low Stress Training (LST)After you have planted your weed seeds and the cannabis plants get older, their leaves become increasingly thick and bus...
 Grow TechniquesGrowing Cannabis in Coco GuideCoconut peat or coir was first presented to the Royal Botanical Society in 1862; after initial success, it was relegated...
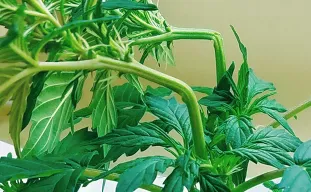 Grow TechniquesSuper Crop Weed - The Ultimate GuideThere are multiple training methods you can use to get the most out of your crops. Each one has its benefits and works b...
 Grow TechniquesAutoflower ScrOG GuideAs autoflowers have a short growth cycle compared to other varieties, techniques such as ScrOG can be hard to pull off p...
 Grow TechniquesSea of Green Method (SOG) For Autoflowering PlantsThe Sea of Green (SOG) method allows you to fit dozens of smaller plants together to create a dense "sea" of buds that f...
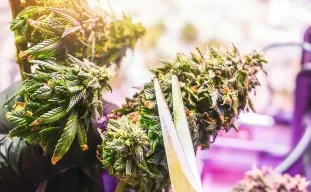 Grow TechniquesHow To Trim Marijuana Plants?You finally harvested your marijuana plants, but you are not done yet. You still need to trim your cannabis plant before...
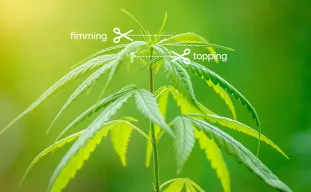 Grow TechniquesTopping vs. Fimming Weed PlantsOne of the biggest priorities of cannabis growers is to get the biggest harvest possible. There are various ways to acco...
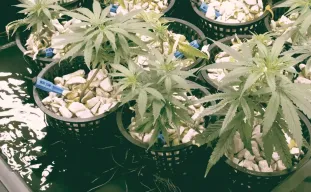 Grow TechniquesHow to grow hydroponic weed?Plants grown from cannabis (sativa or indica) are hardy and can adapt very well to different conditions and can, therefo...
 Grow TechniquesHow To Top Cannabis Plants in 3 Easy StepsHave you ever tried topping your cannabis plants?
The term itself sounds a little odd, to be sure. But we promise, it's ...
Grow TechniquesHow To Top Cannabis Plants in 3 Easy StepsHave you ever tried topping your cannabis plants?
The term itself sounds a little odd, to be sure. But we promise, it's ... Grow TechniquesScrOG Grow Guide: What is ScrOG and How to ScrOG?You have put in plenty of work to cultivate your cannabis. If you do not mind committing a bit more effort, you can try ...
 Grow TechniquesWhat is Lollipopping Cannabis Plants and How to Lollipop?Lollipopping is a trimming technique that promotes healthy bud growth at the top of your cannabis plant. This process is...
 Grow TechniquesMonster Cropping Weed - The Ultimate GuideOn the list of viable training techniques, monster cropping marijuana is not as popular as others. It is somewhat new in...


