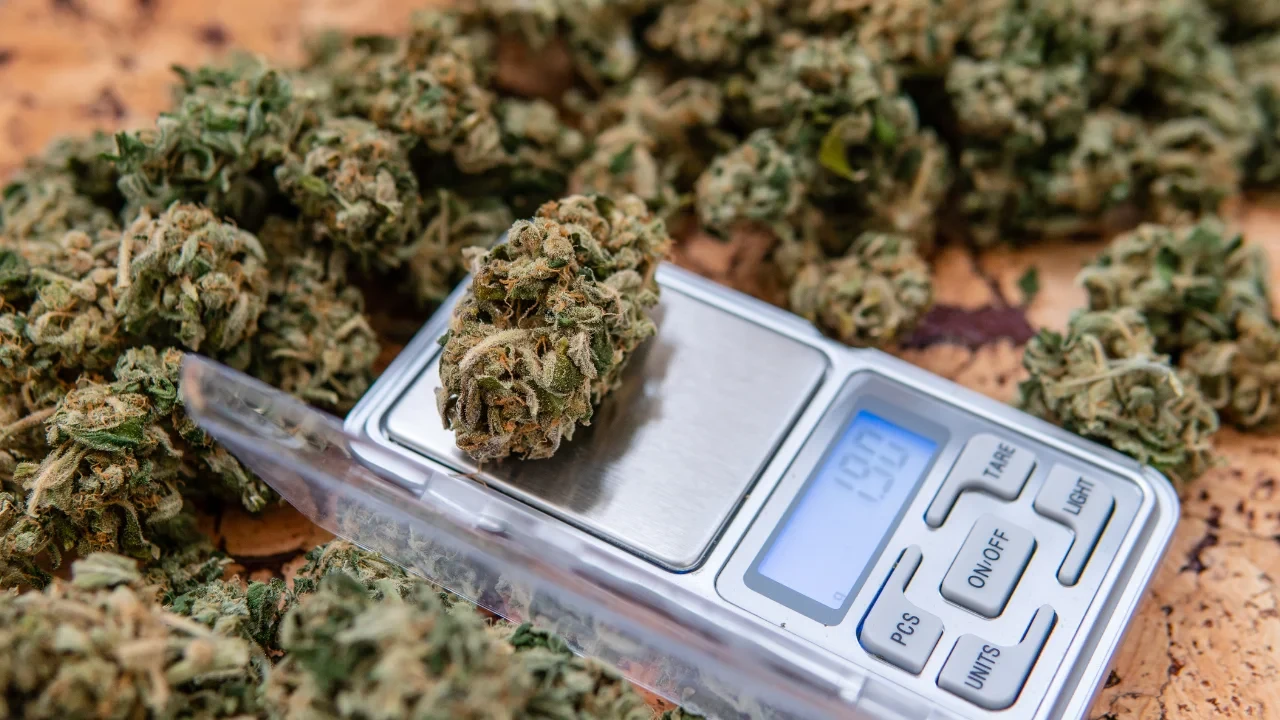
Autoflowers are a no-brainer for new growers or busy lifestyles. They're quick to grow and require less maintenance than their photoperiod counterparts. Before you start planting, however, you’ll want to look at how much cannabis you’re likely to harvest from your crop – its final yield.
This all depends on the strain and growing conditions, as we’ll explain below. While autoflowers typically produce less than a regular cannabis plant, they can still produce impressive harvests that make them an essential addition to your growing space.
Average autoflower yield
Typical autoflower plants yield an average of 20 to 60 grams per plant. This is calculated based on your final dried bud content. There are plenty of exceptions, however, especially if you have a big, healthy plant growing outdoors.
High-yielding autoflowers can even produce as much as 160 grams per plant.
Indoor grow yield
Indoor yields tend to be lower on average due to the more compact surroundings. You can expect an average of between 10 and 60 grams indoors, with super strains producing far more. It all depends on the setup.
Outdoor grow yield
Outdoor yields tend to be far more productive due to the limitless space and height requirements. In general, you can usually yield between 50 and 100 grams per plant. Again, super autoflowering strains and larger plants can yield much more.
How to measure the autoflower yield?
Gram per m2
This is one of the most common methods of measuring an autoflower’s yield potential. It's by far the most frequently used way of measuring crop space and looks at how much potential you can grow in an optimal spatial setting.
It’s more ideal than measuring per plant as crops differ, and it draws an average based on your available space. To calculate your potential yield, simply divide the m2 number by your setup space.
Gram per Watt
Grams per watt is often favored by professional indoor growers utilizing intricate growing systems and large warehouse-like spaces. In fact, grams per kilowatt-hour has become the industry standard as it calculates total dry bud weight by daily energy consumption.
As such, it's crucial for those investing in the production of cannabis.

How to get bigger yields from autoflowers?
1. Choose a high-yielding autoflower
The key to a decent yield starts with the seeds. Gone are the days of small harvests with autoflower crops. You can now take your pick from high-yielding autoflower strains that are genetically designed to reap rich rewards.
Begin by choosing one of the highest autoflowering strains out there for the best harvest results. Strains like the Jack Herer Auto strain, for instance, can produce an impressive 700 grams per m2.
2. Use airy, high-quality soil
Autoflowers are beloved for their quick growth. Unfortunately, this also gives you — the grower — less time to care for your plant. As such, you want to provide the best possible support from the get-go. One of the simplest ways to do this is by providing a high-quality and airy soil system.
If your soil is too compact, its roots won't be able to dig in deep and absorb nutrients. Soil systems work in symbiosis with your plant. Maintain a fine system, and your plant will grow wonderfully.
High-quality organic soil is a must. Combine your top-shelf soil with perlite and coco coir, a natural fiber processed from coconuts that helps to balance pH and boost microbial life. The perlite helps to aerate the soil and is perfect for the seedling stage.
As the soil is the main hub for your cannabis to grow, you want to get things off to the best start with a beneficial system that retains water and helps break down nutrients. Some growers stick to synthetic solutions for a quicker hit – but this runs the risk of burning out the plant.
When you have a short life cycle like an autoflower with little room for error, organic is often best.
3. Use big pots
The size of a cannabis plant is directly related to its potted surroundings. That's why outdoor plants reach such incredible heights. More grow space means that both roots and stem can reach their full potential.
As such, one of the simplest tricks to increasing your yield is to pot your plant in the largest possible container. Keeping your plant within a large container from the beginning will help foster a healthy root and soil system with no stress.
Be realistic with your growth, however, by looking at your strain’s average height. To aim for the upper levels, plant in an appropriate pot. A rough calculation is to use a 7.5-liter pot for every 30 cm of expected height.
4. Don’t transplant
Transplanting is the process of removing your young plant and placing it in a bigger pot as it grows. Avoid this. Start with the largest size from the beginning, as autoflowers can go into shock when transplanted.
This process loses valuable vegetative growth that affects yield size and quality. As autoflowers do not respond to light regiments in order to flower, you have less control over this cycle.
While more experienced growers can have great success in transferring pots, the soil and moisture have to be just right along with other conditions. Since there are too many variables that can damage your autoflower's yield, it's always best to start your plant's journey in the final container.
5. Provide proper light
Light is crucial for good growth. If you’re growing indoors, you can easily implement an 18/6 light routine with 18 hours of light followed by 6 hours of darkness. As autoflowers don’t depend on light to begin the flowering process, it’s important that you get this right from the beginning.
Some growers have adopted 20/4 routines for autoflower strains and even a constant 24 hours of constant light. At the very least, stick to the common consensus of 18/6. Full-spectrum LEDs work well with autoflowers and are energy efficient.
Outdoor growers should plan for seasonal variation. Long summers are the perfect seasons for adequate light coverage. Even if your plant is only getting 12 hours per day, those 12 hours are far more efficient than an artificial indoor light setting.
Remember to plant your autoflower strain in an area that isn’t shaded. It needs all the light it can get, so plant it in a spot that gets the most day-long coverage (like a south-facing garden).
6. Add the right nutrients
If you're new to growing, it may be tempting to load your container with nutrients and fertilizer. However, autoflower strains generally require fewer nutrients than their photoperiod counterparts because they are smaller and require less water for growth.
As a good rule of thumb, begin with just 50% of the recommended nutrient solution from week 3. What's more, use only lightly fertilized soil. The autoflower vegetative stage is fairly short and doesn't require large doses. So long as you're using airy, high-quality soil, you'll do fine.
When you do begin to add nutrients, start sparingly. You can over-feed autoflowers quite easily. Just as nutrients are important, so is the pH level, as this affects nutrient uptake. Ensure water has a pH of between 6.0 and 7.0 for maximum yields.
7. Don’t overwater
Just as you can nuke your autoflower with too many nutrients, you can also drown it in too much water. Generally speaking, you should let your plant fully absorb the water before every session. Check that the soil surface is dry before you water with the right amount for your pot’s size.
More dedicated growers can invest in a water meter that accurately measures overall soil moisture. Over-watering is caused by providing too much water across multiple days. It rarely occurs because of just one large dose of water.
When you provide too much water over time, the autoflower roots cannot get any oxygen, and your plant's leaves will begin to turn yellow. It also promotes a wide range of issues, from pests to fungus and rot. Watering is a simple process – don’t overcomplicate it.
8. Apply ScrOG or SOG
ScrOG and SOG are two of the most popular low-stress training methods which focus on providing high autoflower yield sizes and quality in different ways.
ScrOG, or Screen of Green, is a technique that promotes high-quality yields with a single plant. It nurtures top growth by positioning a screen under the canopy and manipulating horizontal, rather than vertical, growth.
This produces a wide and bountiful top layer of well-lit and fed leaves, which in turn promotes big buds and high yields. The under-canopy is discarded so that you only have healthy branches and buds.
SOG, or Sea of Green, by contrast, focuses on many small cannabis plants packed close to one another. Perfect for autoflowering strains, this makes the best use of the genetically short flowering time for the maximum possible yield.
You can essentially pack up to 10 small plants into a single square meter, encouraging high-quantity harvests. It’s best done with the smallest of autoflowering varieties.
9. Apply training (pro’s only)
There are many intricate high-stress training methods that can be utilized to encourage huge autoflower yields. These are all best undertaken by those with little experience and experimented with lightly until you get the hang of them.
These include aggressive techniques like topping and the art of cutting off the main stalk to encourage the plant to grow laterally. Successfully topping your cannabis plant will encourage new colas to develop and thus increase harvests.
Other techniques like fimming, defoliation, and lollipopping can all be implemented to increase colas, buds, and yields significantly. They are intrusive, however, and best implemented by experienced hands.
Autoflowers, after all, do not respond the same to training methods as photoperiod plants. For one, the growing time is both short and not light-dependent. Make one mistake, and your autoflower plant won’t have the time to recover.
Still, pro growers have had great success with these training methods.
10. Harvest at the right moment
One of the fatal flaws many first-timer growers fall for is harvesting too early (or too late). Luckily, it’s super easy to identify when to make the most of your buds. The buds will be white and resinous, the autoflower will be pungent and aromatic, and its pistils will turn brownish and curl.
If you haven’t applied any training methods, your top buds are likely going to ripen sooner. If this is the case, harvest those first and simply wait out the lower branches. It can sometimes take several extra weeks for the lower buds to mature.
Simply remove some of the upper foliage and allow light to do its magic. Harvest your buds too early, and you’ll be left with a low-potency product; harvest too late, and you open the risk of rot.


