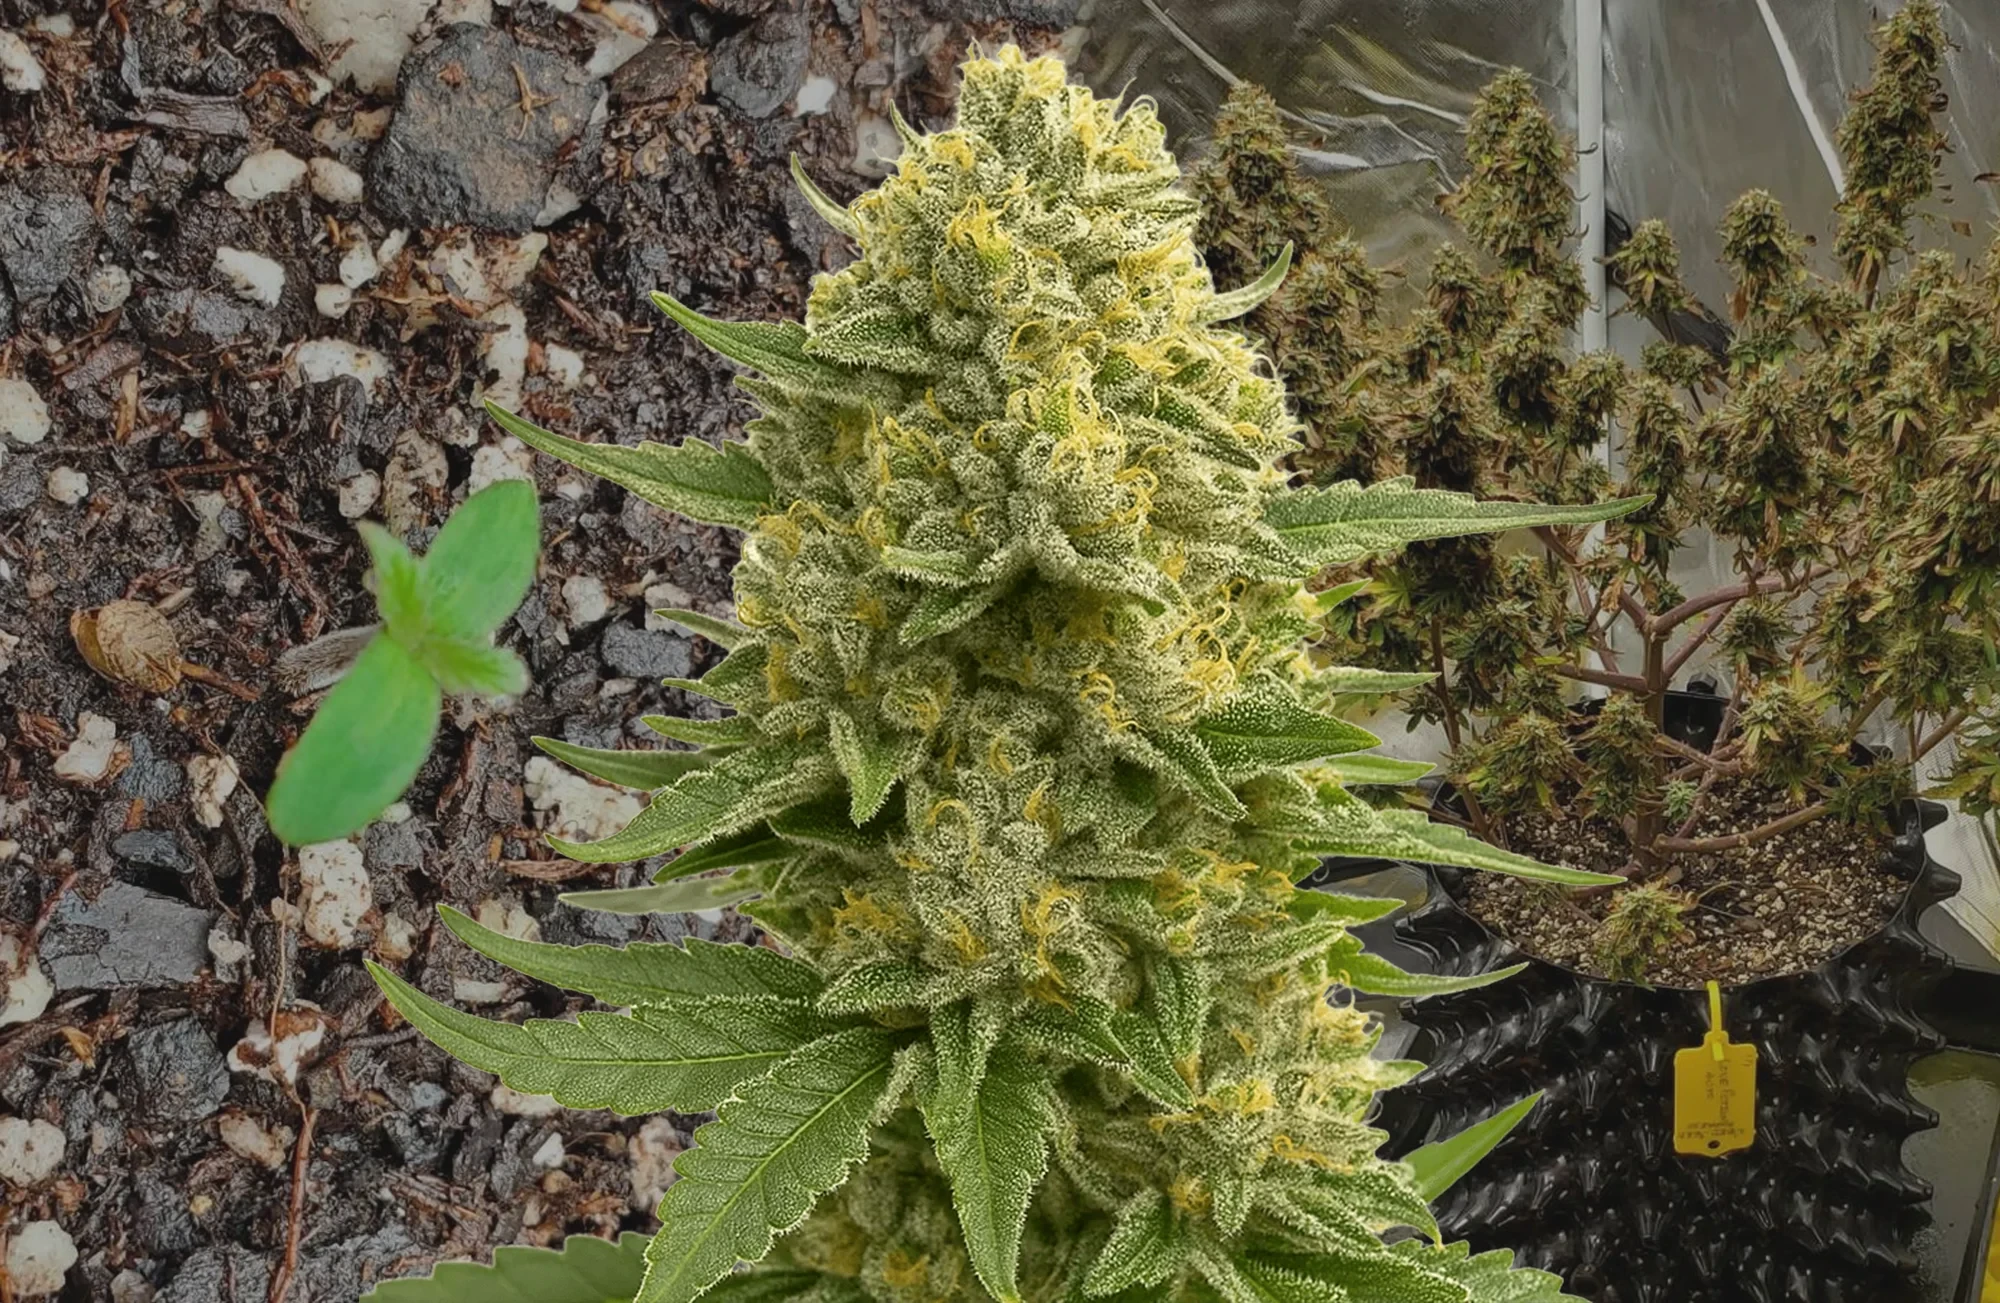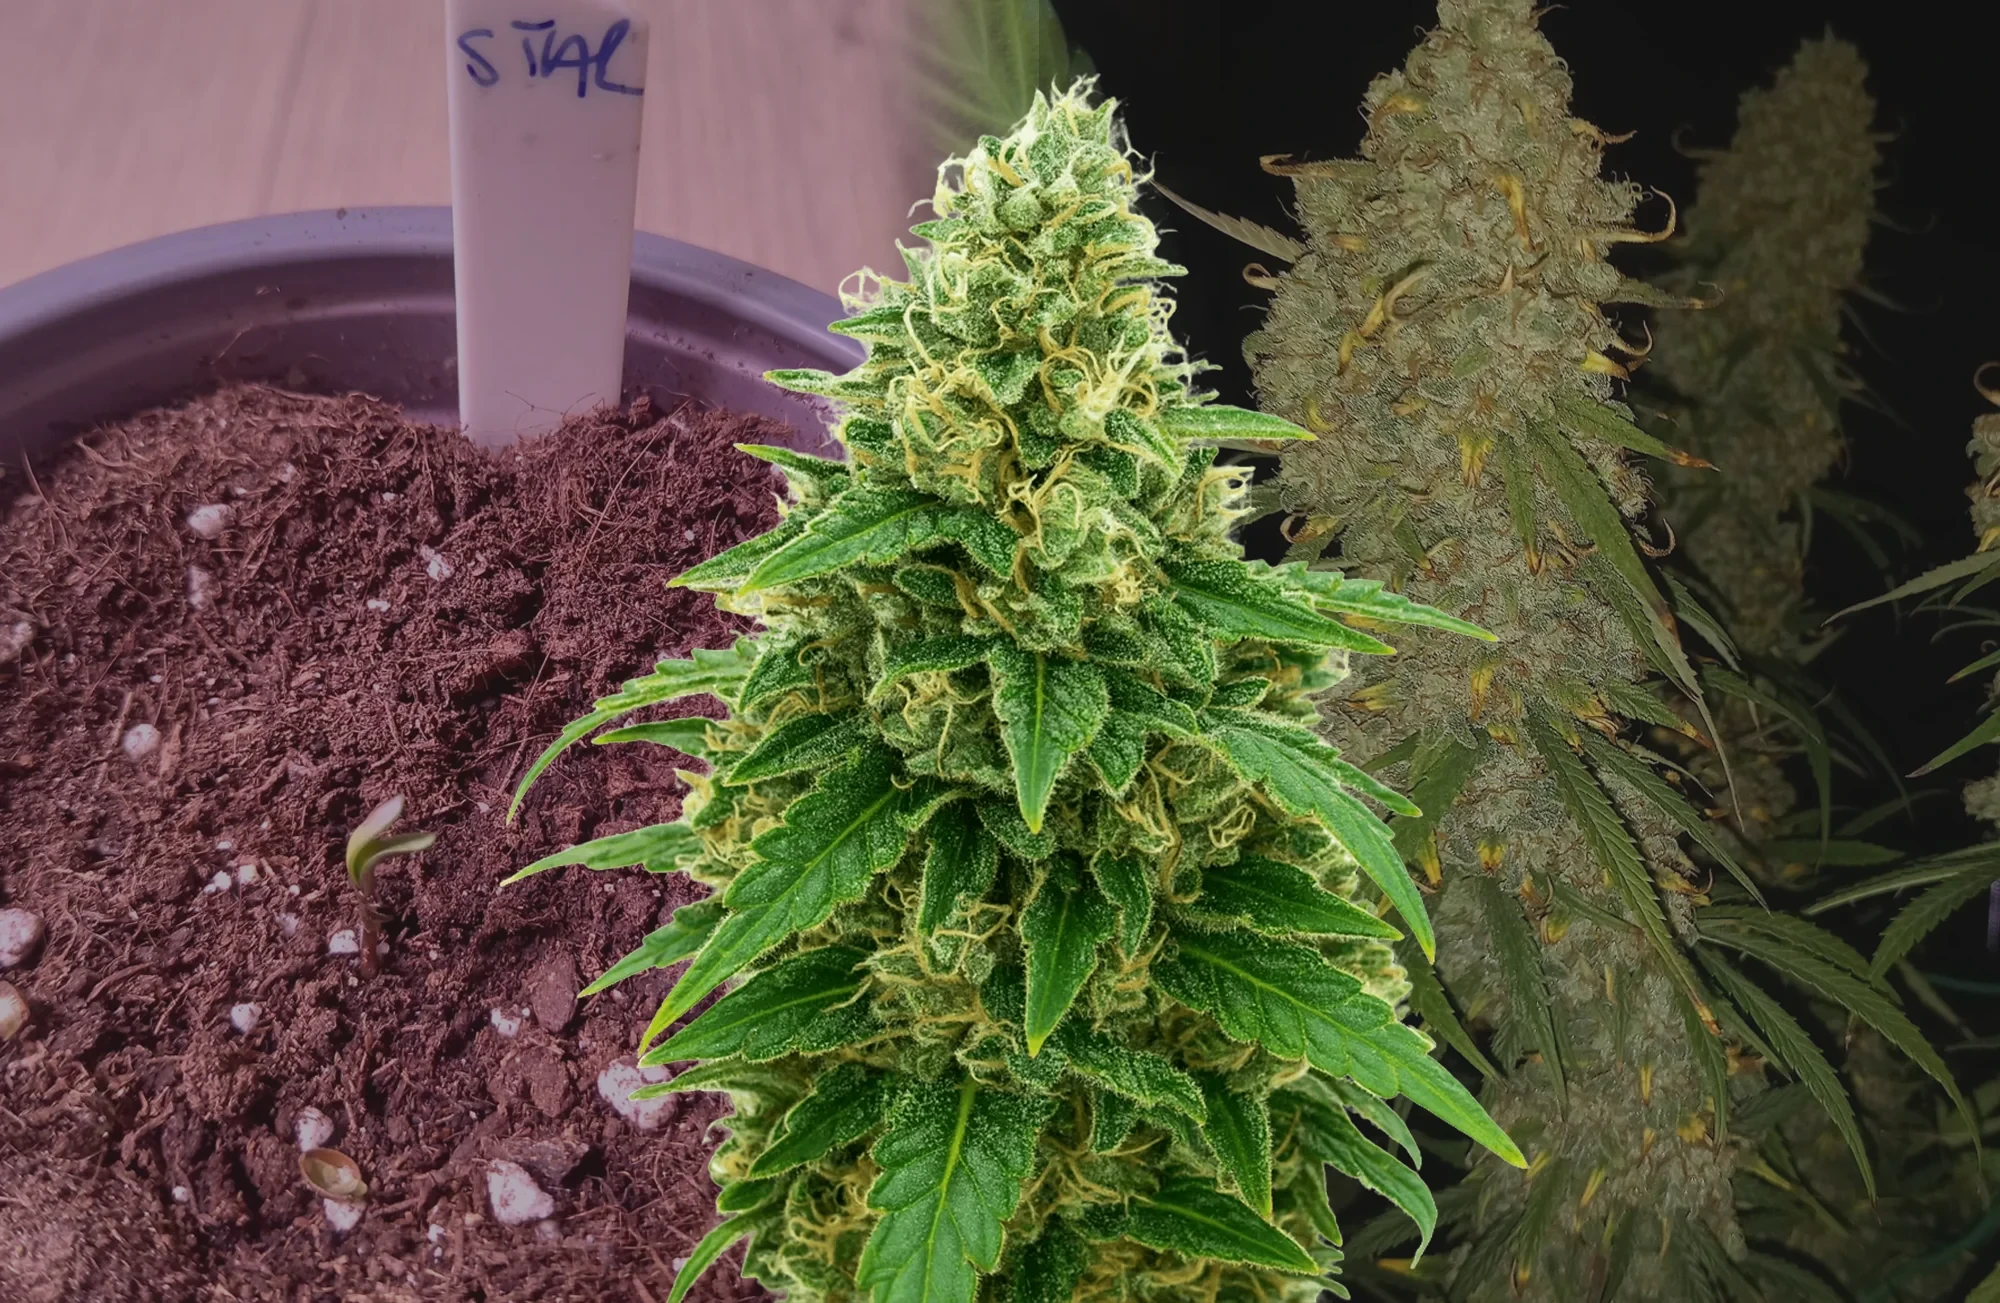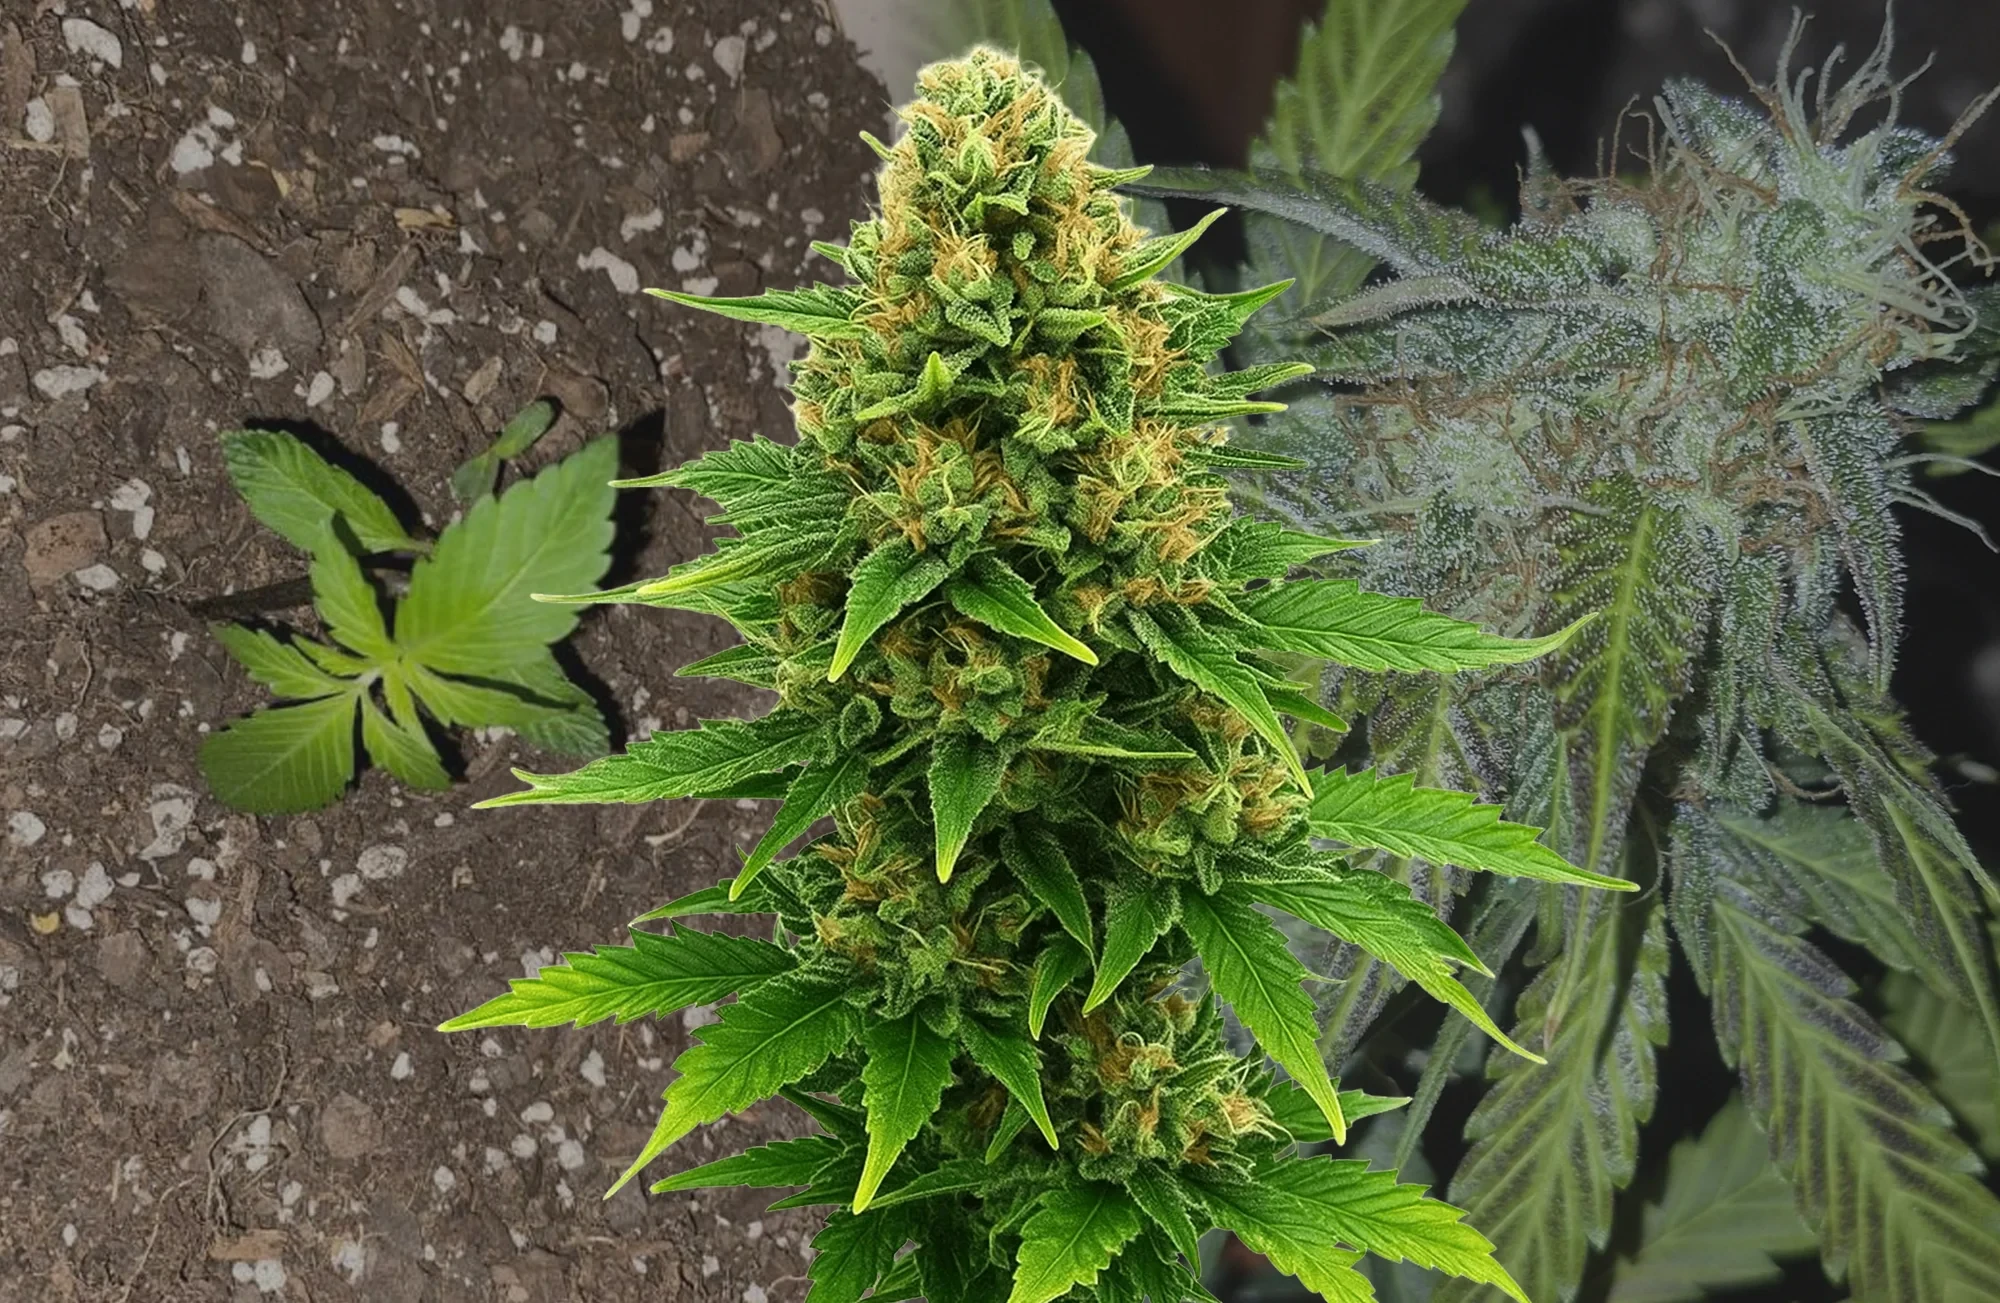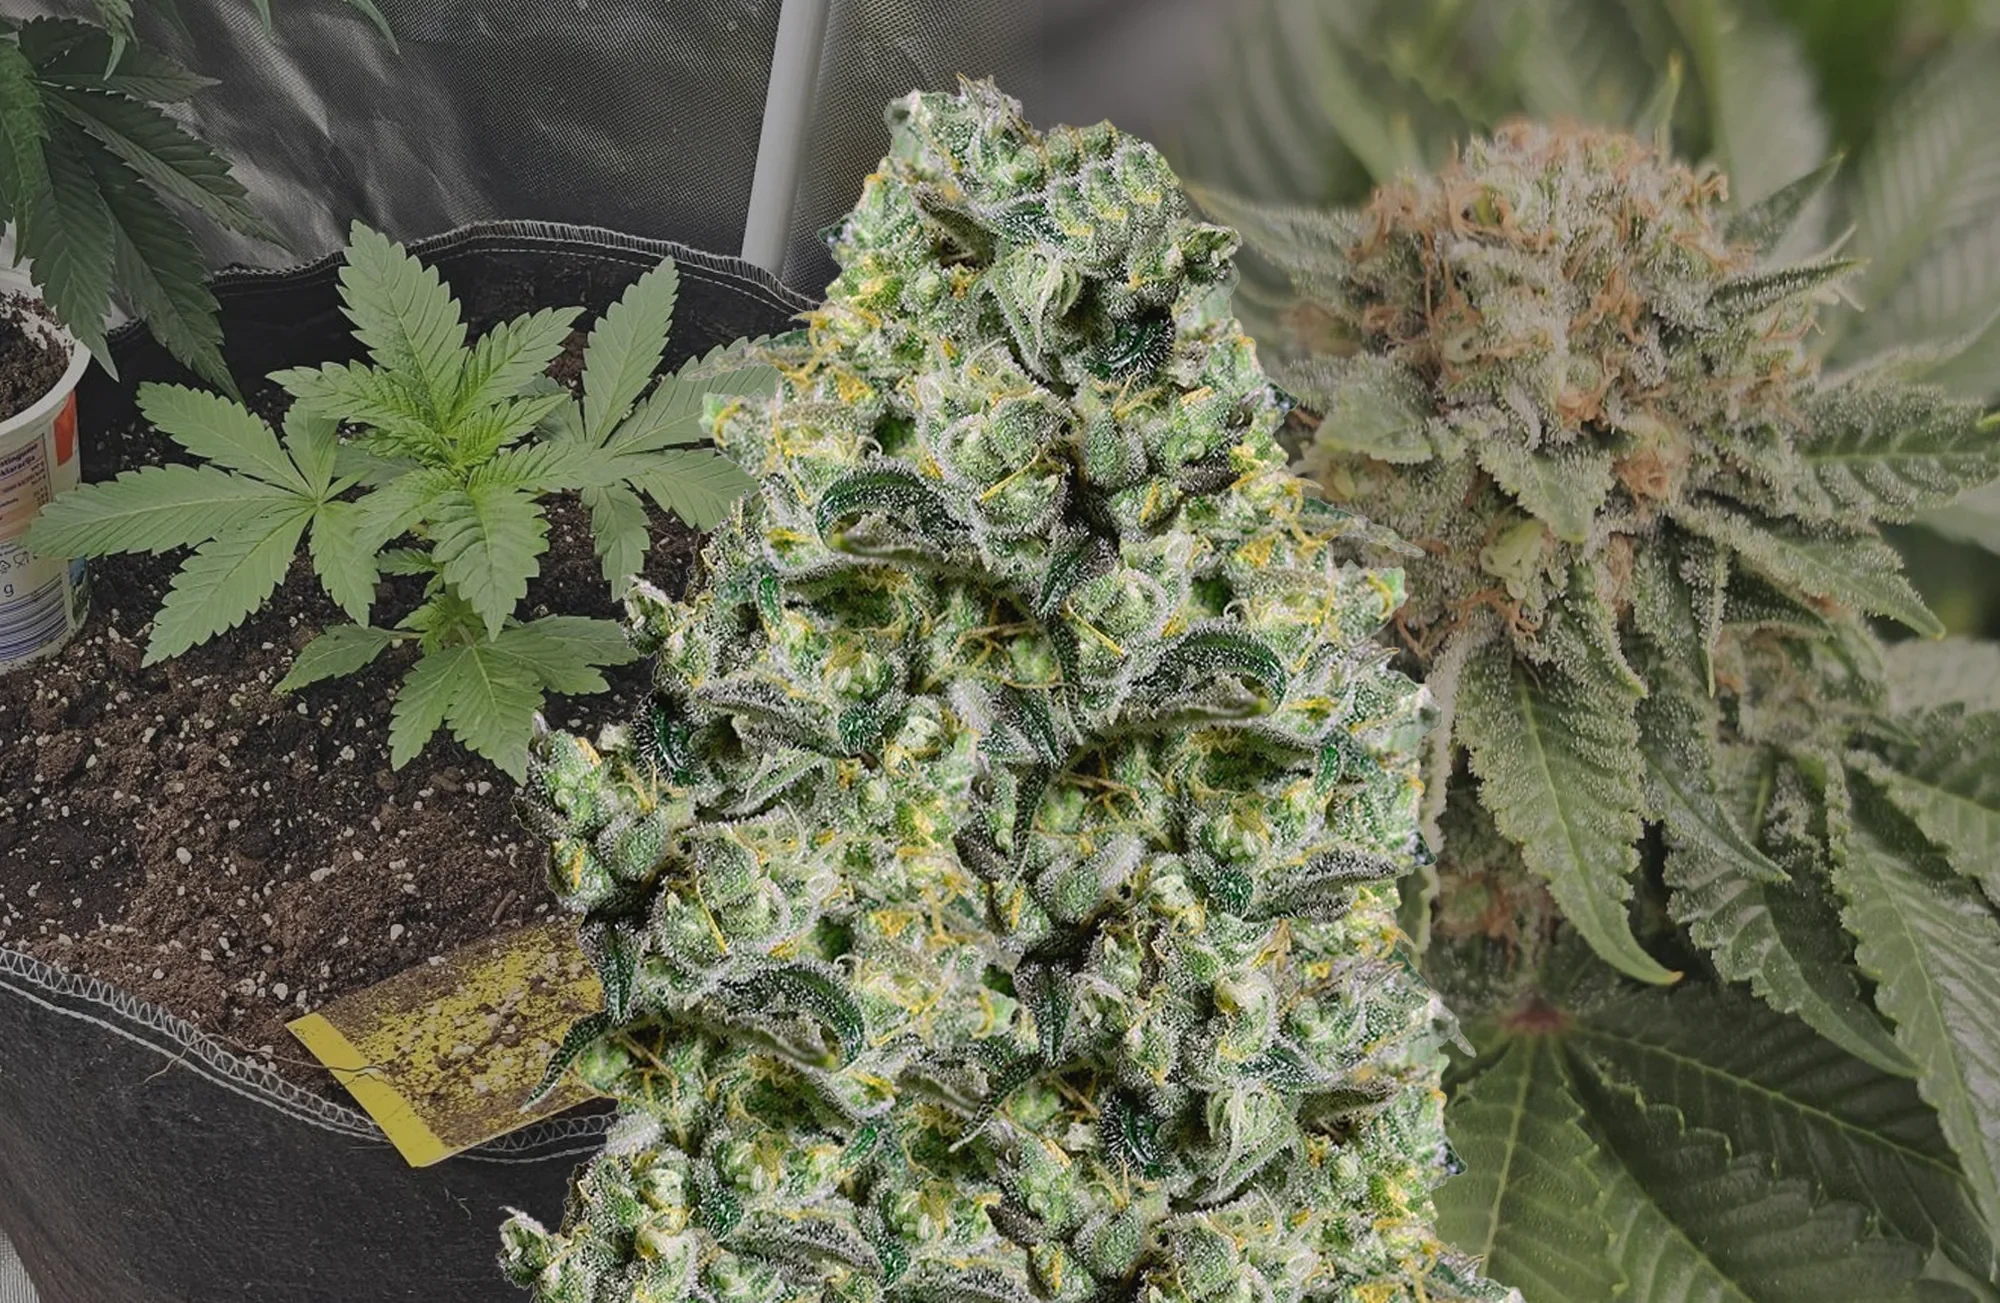


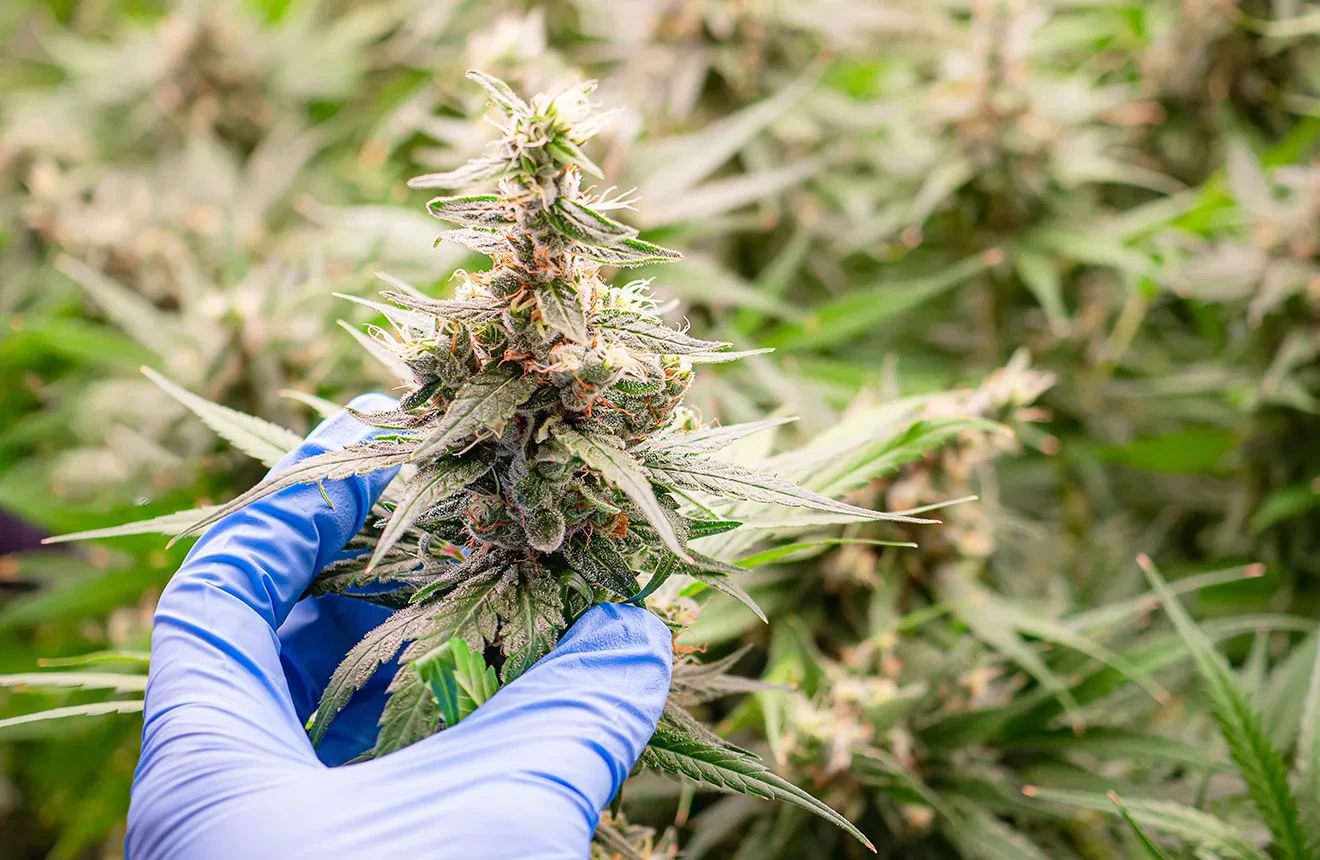
Waiting is the hardest part of growing weed. You spend months taking care of your plants. Now you are staring at your buds and wondering if it is time to chop them down.
If you harvest too early, your buds will be small and the high will be weak. If you harvest too late, the THC breaks down and the weed will just put you to sleep. You want to hit the perfect sweet spot.
If you are just starting out, make sure you read our complete guide on how to grow autoflowers. But if your plants are fat, sticky, and getting close to the finish line, you are in the right place.
By the end of this guide, you will know exactly when to cut your plants down. I will give you a simple, 5-step visual checklist so you never have to guess again.
Key Takeaways
- Do not trust the calendar: The timeline on your seed pack is just a guess. You have to look at the actual plant to know when it is ready.
- Watch the white hairs: When the straight white hairs turn orange and curl inward, you are getting very close to harvest.
- Buy a jeweler's loupe: You cannot see the THC crystals with your naked eye. You need a cheap magnifying tool to make the final call.
- Check the trichomes: You want to harvest your plant when most of the crystals look cloudy and milky, with just a few amber ones mixed in.
Why You Cannot Trust the Breeder's Timeline
Every new grower does the exact same thing. They look at the back of their seed pack. It says the plant will be ready to harvest in 8 weeks. So, at exactly 8 weeks, they grab their scissors and chop the plant down.
This is a massive mistake.
The timeline printed on your seed pack is just a rough estimate. Seed breeders test their genetics in perfect, million-dollar grow rooms. They have perfect lights, perfect temperatures, and perfect humidity.
You are probably growing in a spare bedroom or a basement tent. Because your environment is not a perfect science lab, your plant is going to grow a little slower.
In a normal home grow, an autoflower will almost always take one to two weeks longer than the breeder says.
Treat the calendar like a rough map. It tells you when you are getting close to the finish line. But you should never use a calendar to make your final decision. You have to look at the physical signs on the plant itself.
The 5-Step Visual Guide to Harvesting Autoflowers
Stacking your signals is the secret to a perfect harvest. You do not want to rely on just one clue. You want to look at the whole plant. If you follow these five steps in order, you will know exactly when it is time to grab your scissors.
Step 1: Watch the Fan Leaves (The Fade)
As your plant gets close to the end of its life, it does something beautiful. We call it the autumn fade.
The plant knows it is almost done, so it stops making green chlorophyll. Instead, it starts eating the leftover nutrients stored in its large fan leaves.
Those big leaves will start turning yellow, purple, or red. A lot of beginners panic when they see this and think their plant is sick.
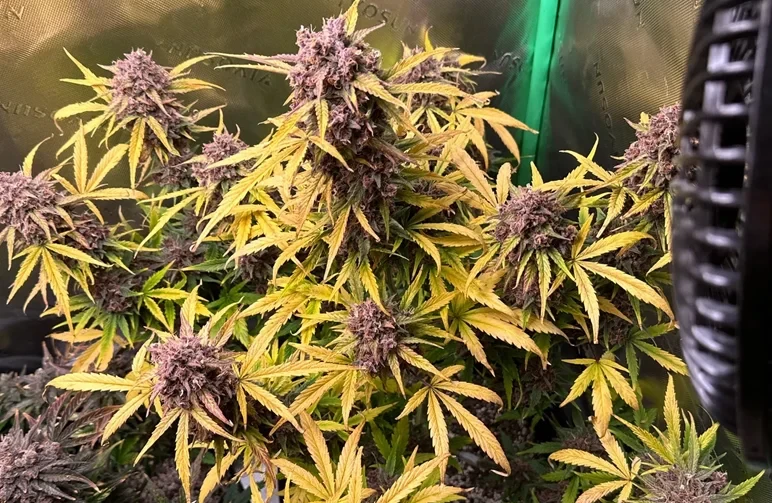
Do not worry. A natural fade is a great sign that your buds are ripening.
Step 2: Check the Pistils (The White Hairs)
When your plant first starts making buds, you will see straight, white hairs sticking out everywhere. These are called pistils.
As the flower matures, those white hairs will start to change colour. They will turn orange, brown, or red, and they will curl inward toward the bud.
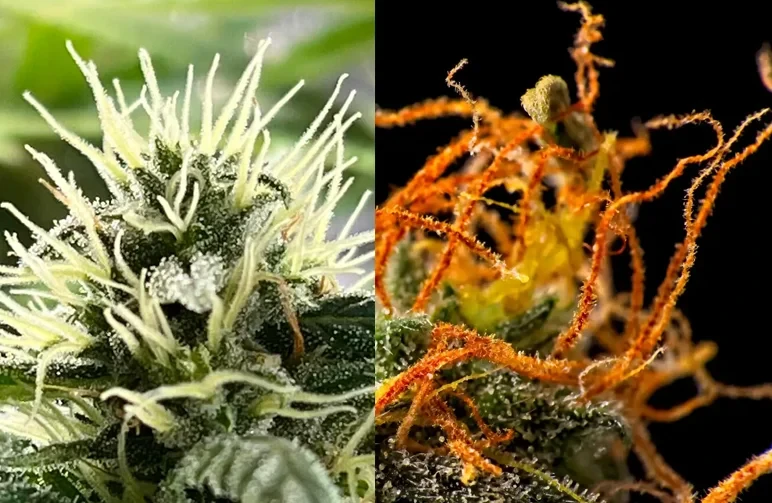
When about 70 to 90 percent of the hairs have darkened and curled in, you are in the harvest window. Just keep in mind that high heat or intense light can also turn the hairs brown early. That is why we use this as a clue, not the final rule.
Step 3: Look at the Bud Swell
In the final two weeks, your buds will go through a massive growth spurt. They will stop growing taller and start getting fat.
The actual pods that make up the bud will swell up and swallow those orange hairs. If you give the bud a very gentle squeeze, it should feel firm and solid like a golf ball.
If the buds still feel airy and fluffy, they probably need a little more time to fill out.
Step 4: Get a Jeweler's Loupe
You can look at the leaves, the hairs, and the bud swell all day long. But you cannot make the final call with your naked eye. You have to look closer.
You need to buy a jeweler's loupe. This is a cheap, tiny magnifying glass. A 30x or 60x loupe works perfectly. You can also buy a small digital microscope that clips right onto your phone camera.
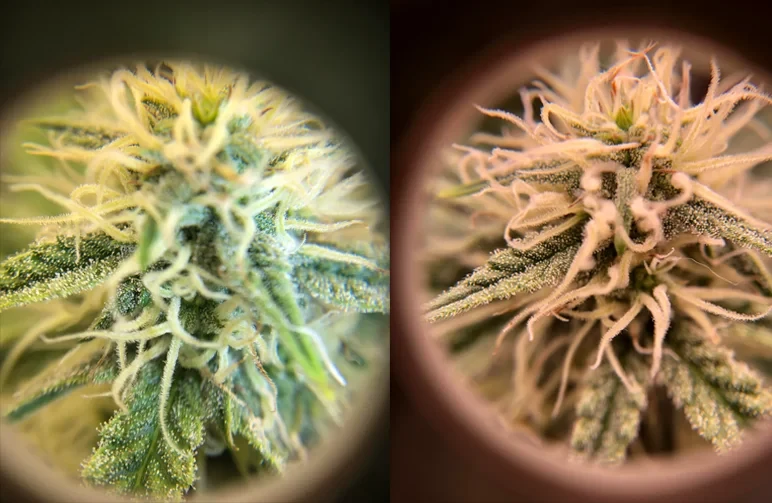
This is a game changer because you can take pictures and zoom in on the screen.
Step 5: Check the Trichomes (The Ultimate Test)
Now take your loupe and look closely at the frost covering your buds. Those tiny, mushroom-shaped crystals are called trichomes. They hold all the THC and terpenes.
This is the most important rule of the entire guide. You must look at the trichomes on the actual buds. Do not look at the trichomes on the little sugar leaves sticking out of the buds.
Sugar leaves mature much faster than the rest of the plant. If you look at the leaves, they will trick you into chopping your plant a week or two early.
Trichome Cheat Sheet: What Kind of High Do You Want?
When you look through your loupe, you will see that trichomes change colour as they age. They go from clear, to cloudy, and finally to amber.
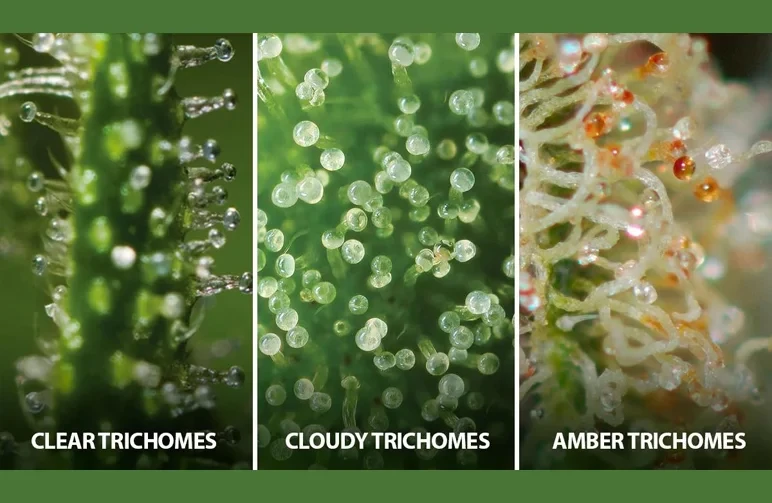
The colour of these crystals actually dictates the kind of high you will get from your weed. You get to decide exactly how your harvest will make you feel just by picking the right day to chop.
Mostly Clear Trichomes
When trichomes are clear, they look like tiny pieces of glass. This means the THC has not fully developed yet. If you harvest now, the high will be very weak, short, and sometimes a little jittery.
The buds will also lack flavour and smell. Do not chop your plant yet.
Mostly Cloudy Trichomes
As the plant matures, the clear glass turns into a milky white plastic. When the trichomes are mostly cloudy, your plant has reached its absolute peak THC level.
Harvesting right now will give you a very energetic, uplifting head high.
Cloudy with Some Amber
This is the holy grail for most growers. You want to see about 70 to 90 percent cloudy trichomes, with a light sprinkle of amber crystals mixed in. The amber colour means the THC is just starting to age.
Harvesting at this stage gives you a perfectly balanced high. You get the uplifting head buzz mixed with a nice, relaxing body melt.
Mostly Amber Trichomes
If you wait too long, the milky crystals will turn the colour of dark honey. When trichomes turn amber, the THC is actually breaking down into a different chemical called CBN. CBN is highly sedative.
If you harvest a plant with mostly amber trichomes, you will get a heavy couch-lock effect. It is great for sleep and pain relief, but it will make you very lazy.
What Happens If You Harvest Too Early or Too Late?
Think of harvesting weed like picking a piece of fruit. If you pick a banana while it is still green, it is hard and tastes terrible. If you wait until it is completely black, it is mushy and ruined. You want to pick it right in the middle.
Harvesting Too Early
This is the most common mistake new growers make. They get impatient and chop the plant before the buds finish swelling.
If you do this, you lose a massive amount of harvest weight.
The buds will dry up into airy, fluffy popcorn. The smell will be very grassy, just like fresh cut hay. Worst of all, the high can be very racy and make you feel anxious or paranoid.
Harvesting Too Late
If you leave the plant under the grow lights for too long, the THC starts to degrade.
The high becomes incredibly heavy and sleepy. This might be fine if you want a strong sleep aid, but it ruins the fun, uplifting effects of the weed. The flavour and smell also start to disappear.
The heat from the lights will actually cause the tasty essential oils in the buds to evaporate right into the air.
Frequently Asked Questions
I get a lot of questions from growers who are staring at their plants and second-guessing themselves. Let's clear up a few common worries so you can harvest with confidence.
Should I flush my autoflower before harvest?
Yes, you should. About a week or two before you plan to chop, stop feeding the plant any nutrients. Just give it plain, pH-balanced water.
This forces the plant to use up the leftover food stored in its leaves. Flushing makes the final smoke much smoother and stops the ash from turning black and harsh.
Can I harvest the top buds and leave the bottom ones?
Absolutely. This is a great trick called a staggered harvest. The top colas get the most light, so they almost always finish first. You can chop the ripe top buds and leave the bottom ones on the plant for another week.
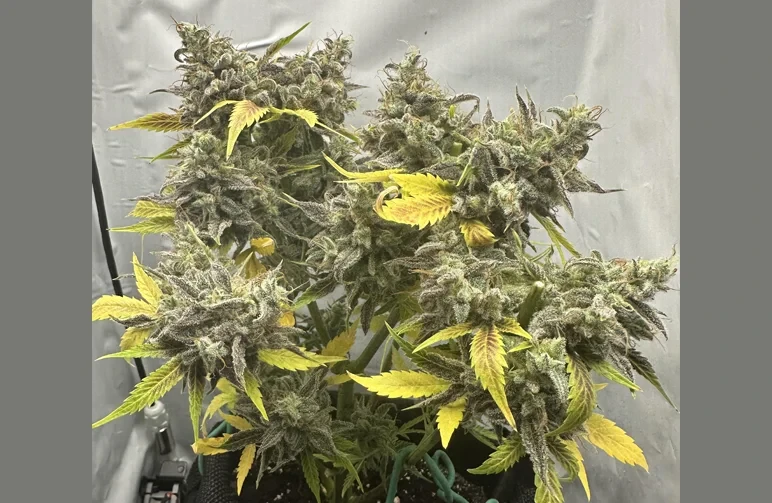
This gives those lower buds more light and extra time to fatten up.
Why is my autoflower taking so long?
Sometimes a plant just wants to take its time. If your grow room is a little cold, or if the plant suffered some stress early on, it will slow down. Some genetics just naturally take a few extra weeks to finish.
Do not panic. Just keep watching the trichomes and let the plant finish at its own pace.
The Wrap Up
The perfect time to harvest is not a date on a calendar. It is a look. When your loupe shows mostly cloudy trichomes and your white hairs have turned orange, you are ready to chop.
Patience is the most important tool in your grow tent. Waiting an extra week is always better than chopping a week early.
Trust your eyes, check your buds every day, and enjoy the reward of a perfect harvest. You have got this.