One of the biggest priorities of cannabis growers is to get the biggest harvest possible. There are various ways to accomplish this while the plant is growing. Training is one of the approaches people take to get the most from their plants and increase yields.
Two of the most popular high-stress training methods are topping and fimming.
While they stress out the plant, they improve the quality and quantity of your harvest. When it comes to topping vs. fimming, some people are curious as to which one is better.
Continue reading to get those plump buds that you have been dreaming of.
What is Topping Weed?
Topping is a method that growers use to get more weed out of a crop. It is a common high-stress training method that people use indoors and outdoors. You would prune the growing tip of the growing plant.
The technique promotes a sideways growth toward the bottom instead of vertical growth (more bush-like plant growth, instead of the more typical Christmas tree shape). Topping is effective and comes with some benefits. Still, it means the plants spend a longer time in the vegetative phase, so expect the stage to last anywhere from four to six weeks.
> Jump to: how to top a cannabis plant?

Advantages of Topping Marijuana Plants
Is topping plants worth it? The reason why it is advantageous for marijuana cultivation is that it distributes growth hormones and promotes lateral growth. The hormones can go from the main stalk down to the lower sections of the cannabis, making it nice and bushy.
The light also can reach every branch, which ensures healthy growth. Learn more about the affected growth hormone and other tips on this growing technique in our guide to Topping Weed Plants.
Without topping, most of the energy goes toward one main cola, and the lower branches often tend to get less light. There are less dense buds around it, and the main cola could end up with less potency. The method encourages other buds to grow and increases bud production and overall plant yield.
When to Top Cannabis?
The best time to top a plant is in the vegetative stage. The cannabis should have three to five sets of shoots, also called nodes, before you begin. If you start the process too early, you can harm the young plant. It may need more time to recover from the stress.
At the same time, you will want to avoid topping cannabis plants in the flowering stage to prevent any damage, which can severely impact the quality of your harvest.
Weed usually grows at least three nodes around 30 days into the vegetative phase. Keep in mind that each strain develops at a different pace. Autoflower plants typically have a three to four-week window in which you can perform any training technique. Learn more about topping cannabis plants from autoflower seeds in our guide to Topping Autoflowers.
Materials You Need for Topping Weed
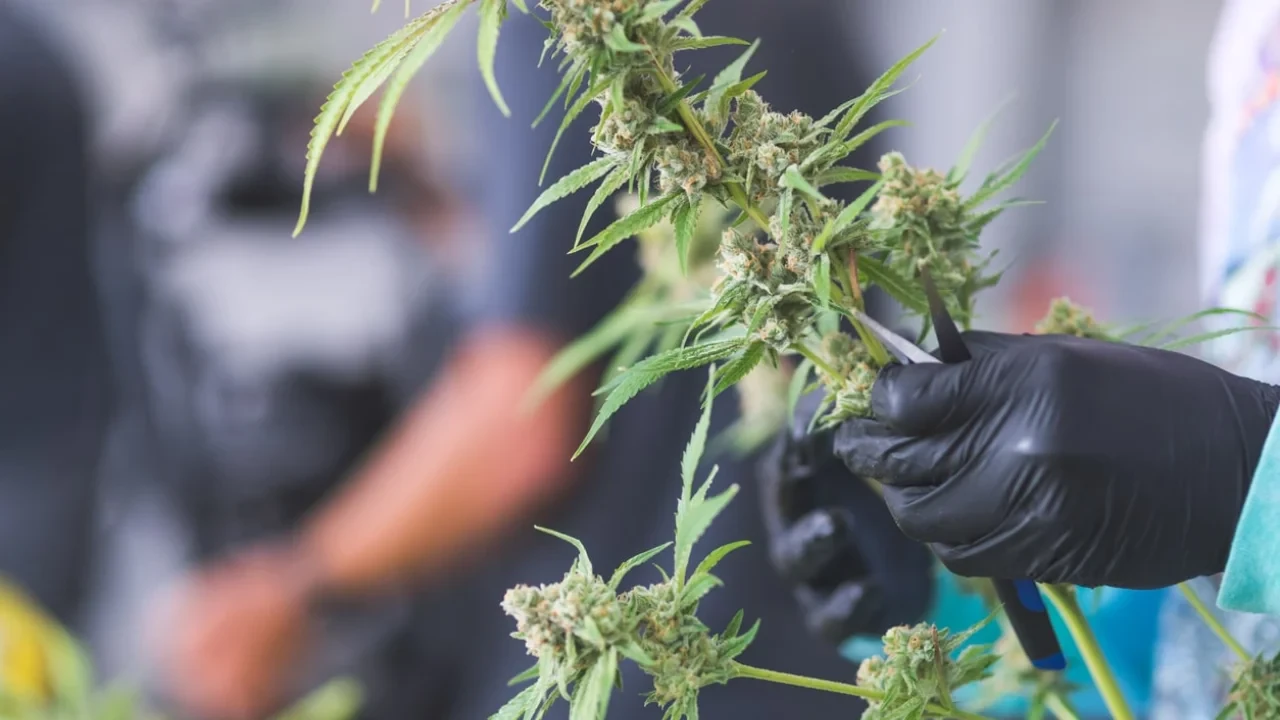
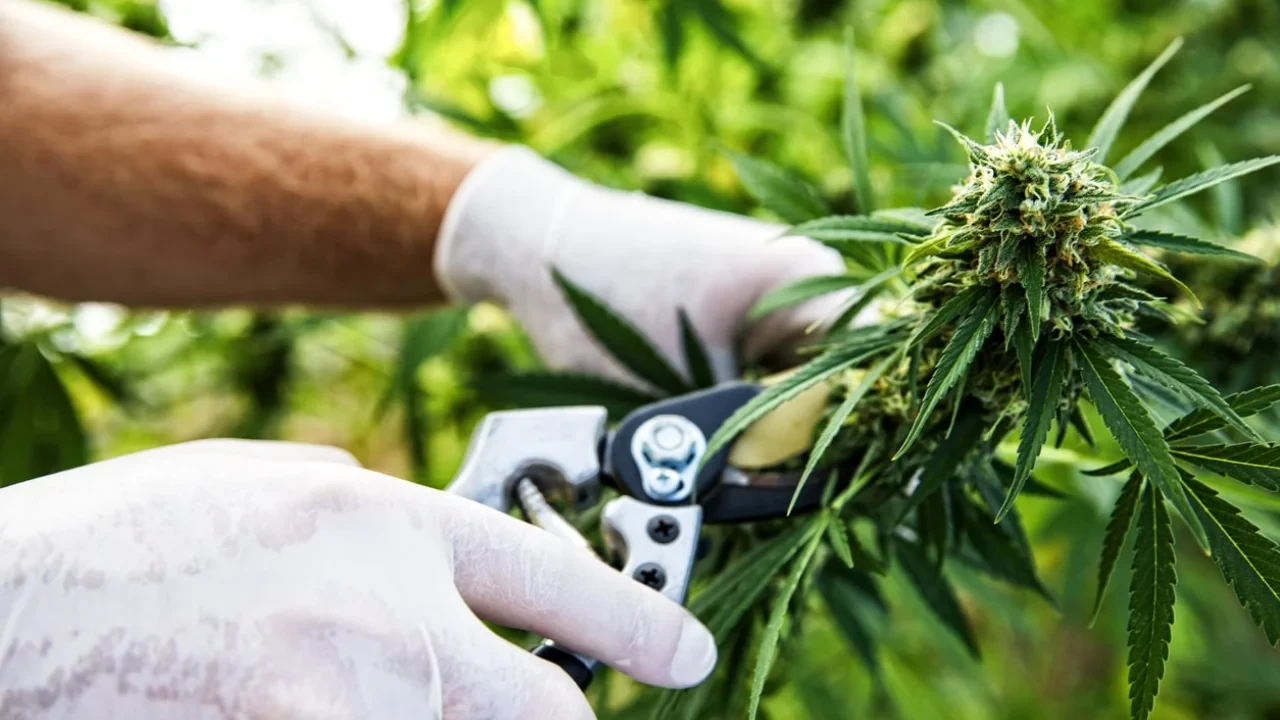
Topping does not require many tools. The method calls for some trimming, so you will need to get a pair of pruning scissors. The scissors give you the precision and accuracy you need for a clean cut. It is necessary to find one with sharp blades.
Dull blades could cause a lot of damage to the main stem or even break it.
Curved trimming scissors are available to top plants effectively. However, some growers use a razor blade. You also should get a bottle of rubbing alcohol to disinfect the pruning scissors or razor blades. You can wear a pair of gloves as well.
How to Top a Cannabis Plant?
Topping is not too hard to do, but errors can still occur. To top weed correctly, follow these simple steps:
Get Your Tools Ready
Grab your pruning scissors or razor blades as you prepare to top your cannabis plants. It is a good idea to be ready to go when it comes time for high-stress training. Once you are sure the blades are sharp, use rubbing alcohol to sterilize the blades.
Rubbing alcohol can help prevent the plants from getting infected. Infection from topping may not often happen, but it does not hurt to be safe.
Find the Fifth Node and Cut Above
Cut the tip of the main stem to remove the top growth. Most growers find the fifth node and cut right above it. This ensures that you have enough branches left on the rest of the plant. Not to mention, the location means a little less stress for your cannabis plants.
Be sure to leave several millimeters of space between where you cut and the lateral branches. You have a reduced risk of removing them by accident. If you need to top the plant again, cut the third or fourth node. When you are done, you can move to the next step.
Wait Patiently
After topping, the plant should stop forming a single cola. You can see it grow in two separate branches that have their own colas. It is important to keep an eye on the plant since topping can be a stressful process.
You only need to strictly monitor your marijuana plants for the first few days. Be sure to give it plenty of light and water during this time. If you want to top again, wait a couple of weeks for the plant to recover.

What is Fimming Cannabis Plants?
Another high-stress technique that some cannabis growers apply to their cannabis crops is fimming. FIM stands for "F**k! I missed." It is a bit like topping, but it is not entirely the same. While you increase the number of colas, you would remove new growths instead of trimming between the nodes.
Growers with a small growing space typically use the method. Not every FIM is the same, so results may differ from plant to plant. If you choose to FIM cannabis plants, expect a longer vegetative growth phase as well.
> Jump to: how to FIM a weed plant?
Advantages of Fimming Weed
If you have one or two plants, you can benefit greatly from fimming. One of the advantages of fimming is the number of colas you can get. Several plants can produce four or more new colas.
The hormones that would have gone to the main stem can go to the secondary branches. However, a few growers have noticed how fimming is less effective in reducing stretching. Still, the yield makes the process worth it.
Besides a bigger harvest, the plants are easier to manage after the technique. As a result, you can balance them to achieve the best growth possible. Cannabis faces less stress, and the recovery time is shorter. You can perform fimming multiple times if needed.
When to FIM Cannabis Plants?
Similar to topping, you should start fimming when the plant has three to five nodes. You should do it during the vegetative stage, and doing it too early (in the seedling stage) can result in shock. The plant could experience stunted growth.
Plants need to focus all their energy on producing fruitful buds during the flowering phase. Also, they are less durable after the vegetative stage. For autoflower plants, you generally can start FIM cannabis plants of this variety three to four weeks after germination.
Materials You Need for Fimming
What you need to FIM your plants is a good pair of pruning scissors. The blades should be sharp for a clean cut. Another tool to use is rubbing alcohol to disinfect the scissors, especially when you move from plant to plant.
Some growers use a pair of gloves, so you can get some before fimming.
How to FIM a Weed Plant?
Fimming can be a quick process to do. There are only a few steps you need to follow. They are:
Prepare
Gather your materials before you start so you do not need to spend time finding everything. Luckily, there is not much stuff you need, which can save on expenses. Place the tools on top of a clean work area.
Wipe the pruning scissors with rubbing alcohol. Keep the bottle on hand to disinfect the blade in between fimming. Then, bring your marijuana plant in front of you, and you are good to go.
Locate Apical Bud (Terminal Bud)
To start, locate the apical bud. Also called the terminal bud, it is the primary bud of the cannabis plant and is responsible for new growth.
The terminal bud is located toward the top of the plant and is near the uppermost node. You can find the top node by counting the leaf sets. The nodes are above or below each set.
Cut and Wait
Some people use the pinch method when they FIM. Grab the tip of the terminal bud in between your fingers once you find it. Then, you would pinch the part of the terminal bud off. Alternatively, you can use scissors to cut the tip from the stem.
The amount that you need to remove is about 75% of the bud. The plant should have a tiny bit of growth that will turn into multiple colas. Wait a few days for your cannabis to heal. Fimming is still a stressful event, and it will slow weed growth for several days.
After the waiting period ends, at least four branches emerge from the cut apical bud. You can FIM again or move on to another training technique.
Topping vs. Fimming, which technique is better?
FIM vs. Top, which high-stress training technique will you apply? While it is hard to say which pruning method provides you with more yield, choosing topping vs. fimming should be decided based on the grow that fits your grow space or cannabis garden better.
When you top cannabis, you can expect two symmetrical side branches, creating a symmetrical growth pattern of two main colas. This means not only better bud development but also a less chaotic cannabis canopy.
Fimming a cannabis plant will create four or more side branches, which can cause the plant's growth to become a little bit more rebellious and will need to be controlled if you want to use your grow space effectively. On the upside, your cannabis plant will recover quicker when compared to topping.
There is no clear winner in the battle of topping vs fimming, and we would even advise trying out both techniques to know for sure which training method works best for your cannabis plant.
What have we learned?
Cannabis pruning can help get larger yields, and both topping and fimming have their merits. You know when and how to apply either training method and what materials are necessary to get these higher cannabis yields.
In the end, you have to decide for yourself which technique works better for your grow.
If you want to get started with your grow, comparing topping vs fimming, you can order the highest quality weed seeds right here at WeedSeedsExpress.


